Archive for the ‘Uncategorized’ Category

Craftsy Impressions

Friday, November 1st, 2013

www.craftsy.com/ext/masteringfpp

It has been a little over 6 months since my first Craftsy class, Mastering Foundation Paper Piecing, went live. Since then, I have had some major revelations about teaching foundation paper piecing on line through Craftsy.

My first revelation is the outreach this format offers. Never in my wildest dreams did I expect 6,447 students to sign up in the first few months the class went live. But they did and they continue to sign up.

My second revelation is the relatively few number of questions asked by the students. I think that is a testament to the quality of the video and the content of the classes.

My third revelation is the amount of positive feedback I would receive from those taking the class. As an instructor, that is so gratifying!

My fourth revelation is how well all the students are doing. Again, I think that is a testament to the quality of the product.


This is FranApple’s first attempt and I think she did great. Then Gico took her block and made a 4-block rotation and added borders for a charming little quilt.


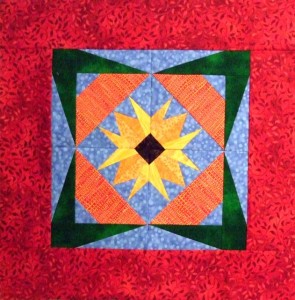
This is Angel66’s Sunflower Fun project. Sometimes, one student sharing her project inspires another student. Quiltingmeemaw2 2 wrote, “Love it. I haven’t so far been able to conquer paper piecing. Have taken many classes Maybe learning this on line will be my answer. I love your color, also. Your sunflower is STUNNING !!” And Angel responded with encouragement, “Thanks so much. Carol is very good and provides lots of tips I didn’t get from local teachers. Hope you enjoy the class as much as I did, Angie” So, like in real life, the online students becomes a community. Quiltfabrications turned the Sunflower into a Daisy and shared her exquisite quilting.


Others tackle projects that they didn’t think they could achieve like Kuby who created a really pretty little quilt using the Starlight Project. Lkeene’s fabric approach was completely different.


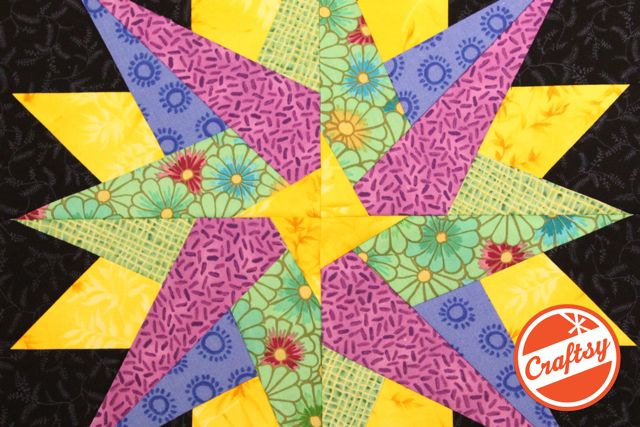
Suzibud’s Mariner’s Compass Star turned out stunning. Abudhabiquilter, expanded her block using the free border inside the Carol Doak Legal Size Foundation Paper.

Once students achieved paper piecing success, then they began to expand and share even more projects.

Jeannie shared her beautiful Tennessee Star from the 50 Fabulous Paper-Pieced Stars book.

I love the fact that this format offers me the opportunity to share the knowledge I have with quilters around the world and help them achieve the success they desire when paper piecing and make it fun!

If you would like to join in the fun, here is a link that will give you 50% off the cost of the class making it a super value!!

www.craftsy.com/ext/masteringfpp

I will see you there!

Carol


What A Difference Color Makes!

Friday, July 12th, 2013

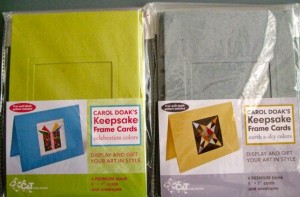
DSCF4826A few months back I was delighted to receive the new colorways for the Carol Doak Keepsake Frame Cards.
DSCF4827

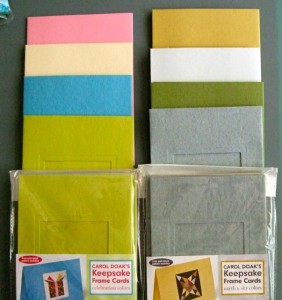
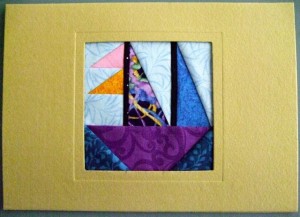
One new colorway was called “Celebration Colors” containing a yellow green, a sea-foam blue, a cream and a happy pink. The “Earth and Sky Colors” started off with a flannel gray, a rich deep green, a white with a hint of gray and a wonderful maize color. Although I enjoyed using all the new colors, rather than the traditional white previously available, I never realized what a difference they make in the overall look and tone of the card until I was auditioning a new sail boat block today inside a variety of colors today. I thought I would share with you what I saw.

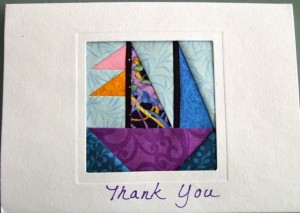
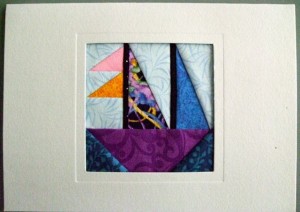
DSCF4829For comparison purposes, here is the standard white card. The colors of the block stand out from the card, but the card does not add anything to the block.

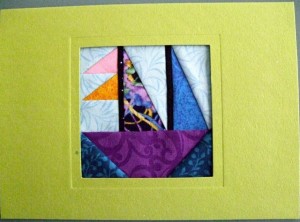
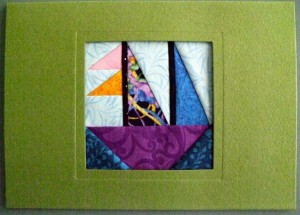
DSCF4830Here is the yellow green card in the Celebration Colorway. The green is a happy green and the blues contrast nicely against it.

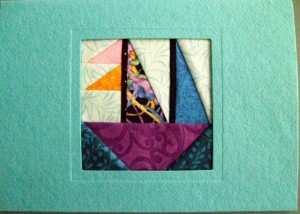
DSCF4831The blue card from the Celebration Colors makes a connection to the blues in the block. The lighter blue sky and darker blue water still stand apart from the card.

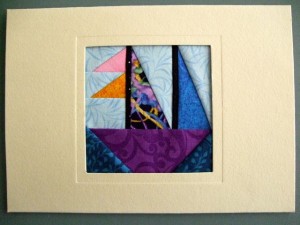
DSCF4832The cream card from the Celebration Colors is softer than the white card, but still permits all the colors in the block to pop.

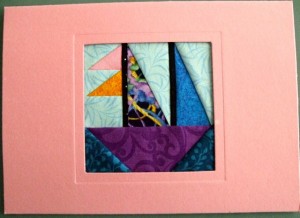
DSCF4833I think the pink card from the Celebration Colors gives this card a playful tone. The blues really pop but it also makes a connection with the bits of pink in the card.

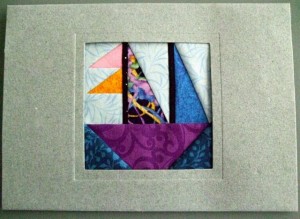
DSCF4834The flannel gray card from the Earth and Sky Colorway gives this card a more conservative tone now. The colors still pop but the seem more toned down.

DSCF4835The rich green from the Earth and Sky Colorway gives the card a rather regal look. I now see bits of green in the print.

DSCF4836The off-white with a bit of gray from the Earth & Sky colorway provides a neutral ground for all the colors to pop without interacting with them.

DSCF4837The wonderful maize color from the Earth & Sky colorway adds warmth to the card and really lets the colors pop.

So, my conclusion regarding which color to use with my boat really depends upon the age and gender of the recipient of the card. If I was sending this card to a young person (or maybe someone young at heart), I probably would select one of the Celebration Cards. If I was sending it to a more mature person or a conservative person, I probably would go with one of the Earth & Sky colors. It is so nice to have choices!

Which is your favorite card color?

All the best,

Carol
 

Craftsy Here I Come!!!!!

Tuesday, March 26th, 2013

titlecard_fb
About two years ago, I made the decision to cut back on my teaching travel schedule to spend more time with my family. I don’t regret my decision because it also gave me more time to design and write another book. However, the requests for me to teach continued and I really missed playing with my students. When the folks at Craftsy approached me about developing an online course about Foundation Paper Piecing, it was the perfect answer! I could develop a comprehensive course, interact with students and still share my tried and true foundation paper piecing techniques with quilters worldwide!

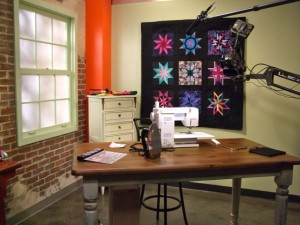
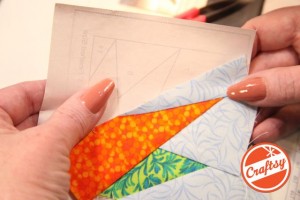
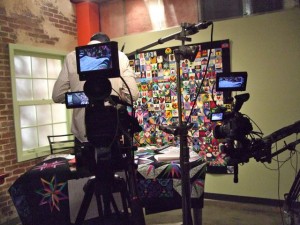
SetI flew to Denver where I had a wonderful set, producer, camera people and spent several days shooting the 8 segments of the course. What I would like to do in this blog is give you an pretty in depth description of what you will learn through this course. Keep in mind that unlike a live class room, I can show and demonstrate so much more information because I am not interacting with a live classroom waiting for everyone to move forward. You can watch the course at your own pace and move forward at your pace. I begin the course by introducing exactly what foundation paper  piecing is and what blocks are good candidates for this method and what blocks are not.

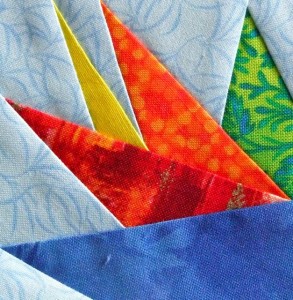
Bird of ParadiseIn the next lesson, I describe some of the tools I use for paper piecing and how I choose fabrics and create a cutting list for a block. Keeping things organized is so helpful when paper piecing.

Making a blockIn the next lesson, I take you through the set-up for paper piecing, and walk you through making a block. The camera close-ups are so valuable to see exactly what I am doing. In the third lesson, lots and lots and I mean lots of tips and tricks are shared. Information about calculating yardage for a paper-pieced quilt, how to cut the fabric pieces quickly, how to cut the fabric so it will open to the straight grain, how to calculate how big each fabric piece should be, and how to make and use pieced units. You will use this information over and over again! I also share lots of the foundations that I used in this lesson as bonus patterns.

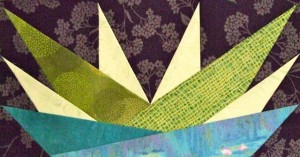
SunflowerIn the next lesson, I chat about modifying a paper-pieced block and we assembly-line paper piece this little Sunflower quilt. Joining units so they match perfectly is covered here.

9-PatchIn the next lesson I cover multiple unit paper-pieced quilts as I show how to make a 9-Patch Star Quilt. Lots of tips in this lesson too!

Mariner's Compass

In the next lesson I share a new Mariner’s Compass Style block set on point. Tips for using triangular blocks, joining the blocks and a piece across them are covered here.

Craftsy shot2In the last lesson, I chat about designing your own paper-pieced blocks and some of the types of quilts you can make using the techniques learned throughout the course. So that is not everything, but it gives you a flavor of the type of information you will learn throughout the course. I think it is pretty comprehensive.  However there are bonuses like…an ebook of 50 Little Paper-Pieced Blocks, class materials, the ability to watch the lessons at your convenience, to ask me questions, to make video notes to watch again particular sections, to share your projects with other students, receive new designs that I created just for this course and all with a money back option if you are not happy with your purchase.

Now, what could be better? How about a link to sign up and receive 25% off the tuition price? Just click on the image above and that will happen for you.

See you there!

All the best,

Carol
All the best,

Carol


I Would Like to Thank the Academy…..

Tuesday, February 12th, 2013

On top

I was honored to read that I have been nominated by the 2013 Golden Quilter Awards as BEST QUILT DESIGNER. What fun! There are several wonderful quilters in this first category and I consider myself fortunate to be in their company. If you would like to cast your vote, you can do so here:

http://sewcalgal.blogspot.com/2013/02/2013-golden-quilter-awards-voting.html

Voting ends February 28th. Thank you in advance for your consideration.

All the best,

Carol


Carol Doak`s Creative Combinations is On It’s Way!!!!
Thursday, February 7th, 2013

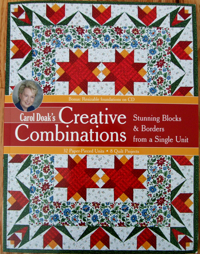
CreativeCombinationsCoverYeah!!! I just received word that my newest book is on it`s way and I am so excited. I should be able to begin shipping it on Valentine’s Day out to those who have pre-ordered. Since this has been my passion for the past couple of years, it is very fitting that it arrives around Valentine’s Day.

Legalpaper

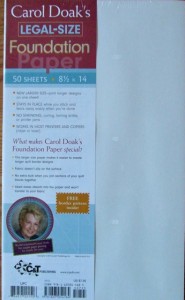
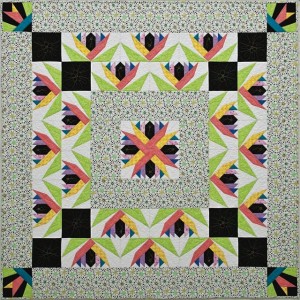
Let me take you down the creative journey that inspired this book. You see, for several years quilters had been asking for legal size foundation paper so they could print longer blocks. When C & T Publishing agreed to work with me to make legal size foundation paper available, they suggested that I design a free 3″ x 12″ long border block to include with the package of paper. I agreed and the block was designed.

half block

But then I thought, I could create 6″ x 12″ block designs. So I started playing with some new designs in that size.

full block

When I printed out the first design, I thought, gee, I could place them together along the long side and make 12″ blocks in two halves too! The result was a 12″ block made in two halves looking very different from traditional block designs.

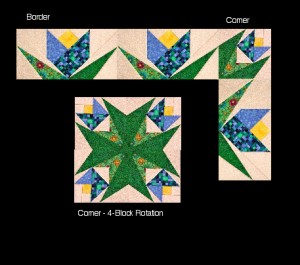
OptionsBut then I thought I should design some blocks to round the corners of the border blocks. But then why not use those blocks as 4-block rotation blocks.

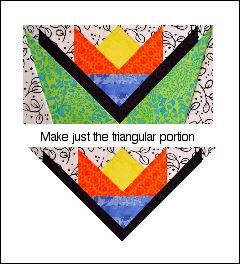
triangular portionI soon saw the possibility that some blocks offered to just make the triangular portion of the rectangle and place them in a four-block rotation to create new block designs.

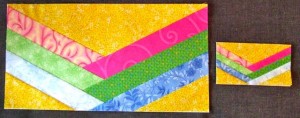
Big and SmallAnd then of course this book needs to come with the Foundation Factory program that will let you print the blocks in any size you like. But that program also lets you flip blocks and distort blocks….oh my, I could see the possibilities were going to be endless!!!!!!

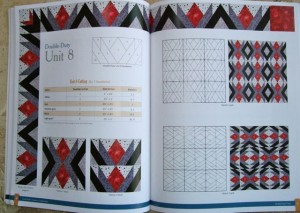
2-page-spreadI love the way each foundation is presented as a border with the pieced corner suggestion, a corner square, the block positioned two ways for a quilt in a colored version and just the line drawings so you can see other options pop up in your brain.

Want to see some of the quilts in the book??? The styles and colors are so varied and they are just the tip of the ice berg with this book.

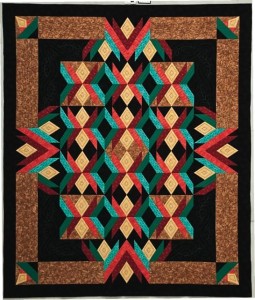
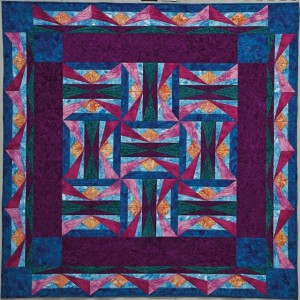
P10873_06_MagicCarpetRideI love how this Magic Carpet Ride Quilts takes on the flavor of a Southwestern design

P10873_01_MorningRays-2Morning Rays…This one was for me! Love the colors and the sharp points.

P10873_05_ItsAmazingThis one called, It’s Amazing was made for my perfect granddaughter. She walked in the room and saw it on the wall and Looooovvvved it! It was so easy and fun to create.

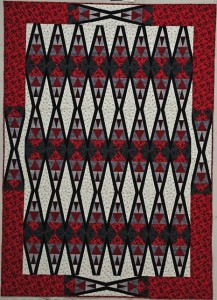
P10873_07_ArrowheadThis one is so dramatic. It’s name is Arrowhead and it is the perfect scrap quilt or quilt for that tall guy in your life.

P10873_03_Sunset

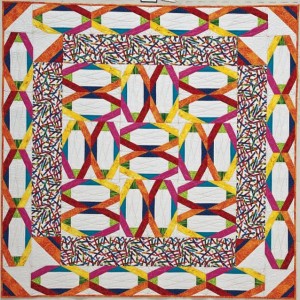
This quilt called Sunset has a wonderful contemporary look and was so easy to make.

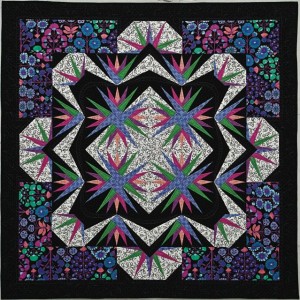
P10873_04_GardenStarThis quilt called Garden Star is a modern twist on the look of 30’s fabric quilts.

There is so much more in the book, but I hope this sneak peak has given you an idea of what you can expect to see in Carol Doak’s Creative Combinations. You can order it now in the web store  and it will ship on Valentine’s Day.

BTW, I would love to see the quilts you make from this book and perhaps I can have a fun “Show and Tell” in the future.

All the best,

Carol

Life is Like A Popover!

Sunday, December 2nd, 2012

It has been awhile since I blogged. I guess my excuse is that I have been focusing on other things and simply have not made time to blog.

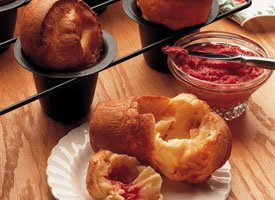
However, this morning I was pondering a recent experiences that I felt the need to share with the world. Let me explain. It has been chilly here in New Hampshire this past week. That prompted me to make up a batch of potato soup. Soup always seems better with some type of homemade bread. That brought up memories of the popovers I used to make regularly when my boys were young. They loved them and they were always met with smiles around the dinner table. So, I got out my trusty popover pan and whipped up a batch of batter using my mixer. I used my standard recipe but the popover didn’t pop. They looked more like cupcakes. What could be wrong? My husband reminded me that I never used the mixer but just used a fork to make the batter. Soooooo, the next night I tried again using a fork, the batter had a few lumps, but I poured them in the pan and put them in the oven.  They were gorgeous! Just the way I remembered them.

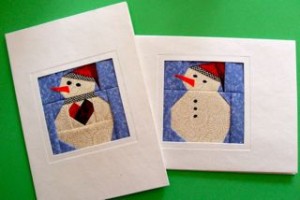
So as I was taking my shower this morning, I was marveling over the difference of using a fork to make the batter. Perhaps there was a lesson there that fast is not always the right way to go. Take Christmas and Holiday cards for instance. It was actually my Mom who loved to receive the patchwork cards I sent her for Christmas that inspired the 50 Little Paper-Pieced Blocks Book and the Carol Doak’s Keepsake Cards. Just as soon as she received it, she called to say how special it made her feel. She knew I took time to make this card for her so the message was not so much what I had written, but what I had shown her by making her a card. She saved every one of those cards in her dresser drawer and after she passed, they were returned to me. I was comforted knowing that I had taken the time to make my mom feel special. The holidays do make me reflect upon family past and present  which is probably where these feelings are coming from.

As quilters, we often make gifts for friends and family for Christmas and Hanukkah because we enjoy our art/craft and know they will be appreciated. Maybe that is just another wonderful quality you find in quilters, they tend to use the fork.

Merry Christmas and Happy Hanukkah,

Carol

Sydney, Australia – Simply the Best!!!!

Wednesday, August 15th, 2012

After leaving the Quilting in the Highlands, Sherry and I headed to Sydney for a week of fun!

Sherry, my best friend, accompanied me on this trip. Just to give you a bit of background, Sherry and I attended our very first quilting class together some 30 years ago. I was so pleased that she agreed to come and now we were off to play together for an entire week in one of the most amazing cities in the world.

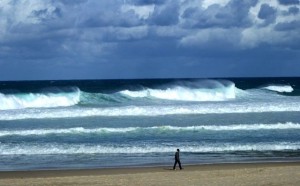
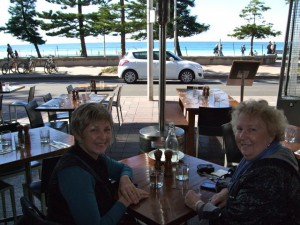
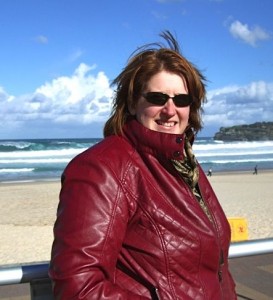
Tamsin drove us to Sydney and then out to visit Bondi Beach. It was a very breezy day at the beach. The size of the waves were mind boggling. They were so powerful, there were no surfers! This is a man walking along the shore so you can see the proportion of the waves coming in! We had a wonderful fish and chips lunch in a beach cafe.

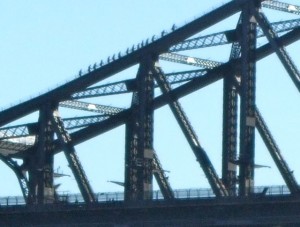
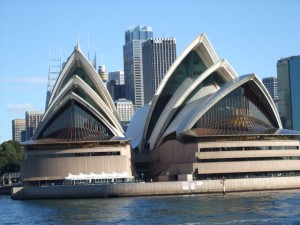
Next we checked into our hotel which was located about two blocks from the Opera House and Circular Quay by the harbor. The Harbor bridge is amazing and one of the sightseeing options was to walk to the top of the bridge.

We thought about it and after seeing people doing it, we easily decided not to enjoy this opportunity!

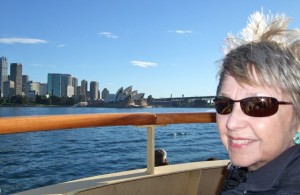
We did hop a Ferry to Manly Beach. It was about a 30 minute ride and fun to see Sydney from the Ferry. Lots of fun shops and again another lovely beach.

We relaxed at a beach side cafe for lunch and watched the surfers ride the waves.

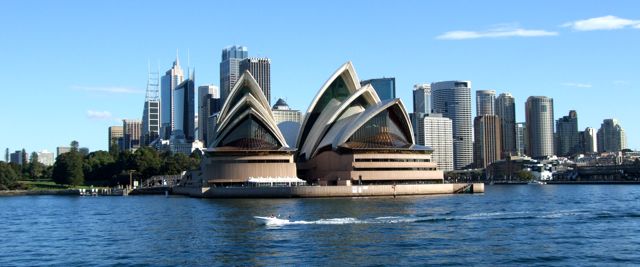
Next we were off to tour the Opera House. You simply can not stand there and look at this building without getting the goose bumps. We took a tour of the Opera House and learned about its history. That was really fascinating. We then had coffee and a brownie looking over the harbor. Are you catching this resting and eating trend?

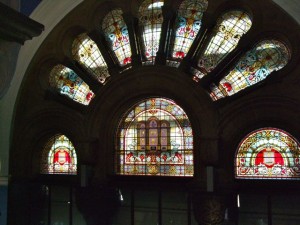
The Queen Elizabeth Building was next on our agenda. It is a spectacular building with these amazing clocks that chimed on the hour and half hour.

The decor and stained glass windows were breath taking.

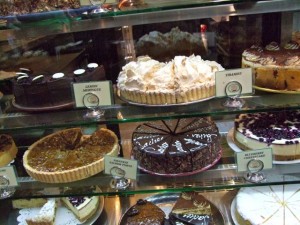
The shops were varied and of course there were Pastry shops. The Australians do pastry very well.

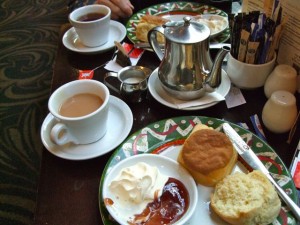
Sherry and I were doing our best to become part of the culture, so of course we had to take a morning tea break with a yummy Tea.

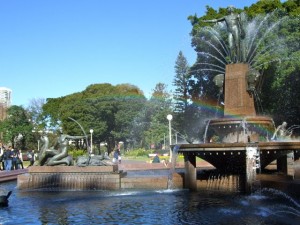
Hyde Park was next. The beautiful fountains, trees and people enjoying the park and the beautiful day were a bonus. Do you see the rainbow in this photo over the fountain? That symbolizes how are week in Sydney was going. The weather was sunny and gorgeous every day.

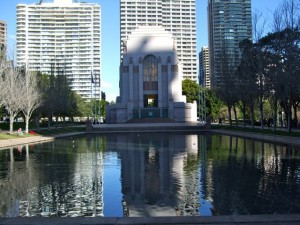
At the end of Hyde Park stands the majestic Anzac Memorial. It is the principal memorial to Australians who have served their country in the armed forces during wartime.

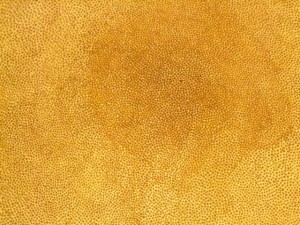
Sherry and I were both very moved by the tributes in this building. It was done with reverence to so many who lost their lives. The ceiling of the dome has 120,000 gold stars honoring the men and woman from New South Wales who enlisted during World War One. Because this building was under construction during the depression, stars were sold for 20 cents each to help complete the building. It is not known why the density increases at the top of the dome.

Another highlight to our trip was a trip out to the Blue Mountains. They appear to have a blue haze because of the mist that rises off the Gum trees. The vistas were amazing and waterfalls and a walk through the valley floor completed our experience.

Sherry is looking out over Echo Point with the Three Sisters in the background.

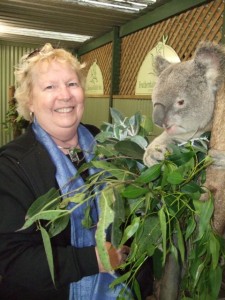
Next we were off to the Wildlife Park where we had the opportunity to meet all the interesting Australian wildlife up close and personal.

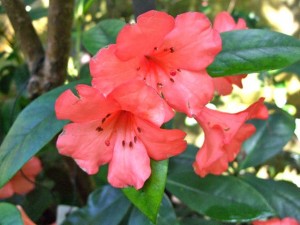
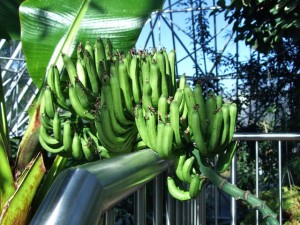
Although we had been by it, Sherry and I had not yet had the chance to walk through the Botanical Gardens. It is right along the harbor and the flowers, plants and trees are amazing. We stopped for some delicious pumpkin soup at the cafe.

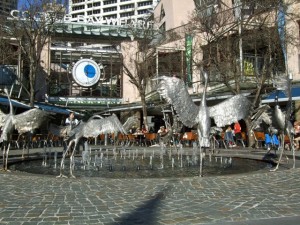
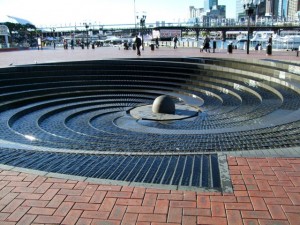
On our last day, we took the Ferry over to Darling Harbor. There was lots to see there such as this lovely water feature.

This spiral water step was mesmerizing. We enjoyed walking around and see the sights and no worries…we stopped for an afternoon tea.

I have shown you pictures of lots of the sightseeing we did in the Sydney area, however the one thing that I have not shared with you yet is what I loved most about my visit to Australia…..the people. Without question, every person we met was warm, friendly and enjoyed chatting. We were typically asked where we were from and how long would be visiting from just about everyone we met. People on the street would offer assistance if we looked confused. Tamsin went above and beyond to share with us her country and made us feel so welcome. We came home feeling blessed to have experienced this trip and even more blessed to have met so many wonderful people and new friends. Sherry and I send many thank yous to Tamsin, Sue, my students and each and every Australian we met along our journey who made us feel so welcome.

All the best,

Carol

Quilting in the Highlands of Australia

Tuesday, August 14th, 2012

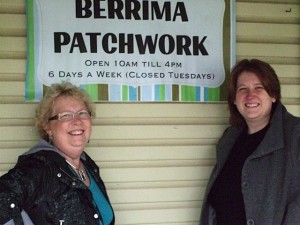
It all started with an email from Tamsin Harvey, co-owner of Berrima Patchwork in Berrima, Australia asking if I would agree to be one of their teachers at  a conference they were hosting this August. Here is the irony…..about 19 years ago, I traveled to teach in Australia for about 3 weeks and one of the places I taught at was Berrima Patchwork. The shop was under different ownership at the time and Tamsin didn’t know that I had taught there.

Quilting in the Highlands was held at a lovely center in Mittagong, which is about an hour and a half south of Sydney. I traveled the farthest from NH to Dallas to Brisbane to Sydney and then Mittagong. I left home about noon on Tuesday and arrived around noon on Thursday. We lost 24 hours crossing the international dateline, but it was a long trip and I would do it again in a heartbeat. The other faculty members were Leesa Chandler (fabric designer and shop owner from Victoria, Australia), Michelle Hill (author and fabric designer from Adelaide, South Australia), Sue Dennis (designer from Queensland) and Melinda Bula (author and designer from California). We all arrived a day early to get our sea legs under us and bonded instantly.

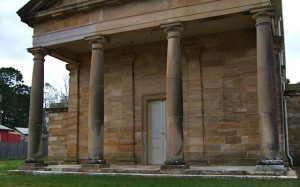
On Friday we played in Berrima where we had the opportunity to visit the shops and also take a tour of the old Courthouse and learn a bit about the history of this charming town.

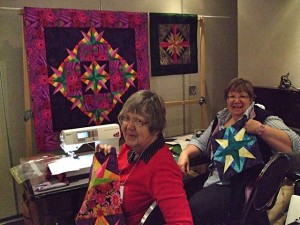
The first day of classes I taught the Diamond Delight class featuring the Australia block from the Mariner’s Compass Stars book. The students were fabulous and took to paper piecing quickly!

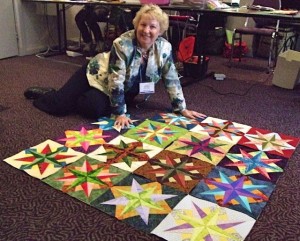
As the blocks were being completed, the color combinations were so varied and fabulous I had the students place their completed blocks on the floor so we could all oooh and ahh…

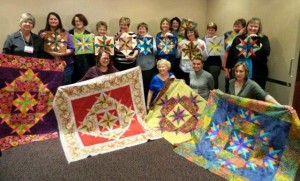
Once the center blocks were completed, the class continued to make the remaining blocks for the quilt. Some even finished their tops!!! Here is a picture of lots of happy students and a very happy teacher.

I so enjoyed spending two days with the students and was sad to see most move on to their next class. A handful stayed on for the second class.

The second class that I taught was the Bright Stars quilt from the Simply Sensational 9-Patch Stars book. The top above was Pam’s version of the quilt.

Everyone started to get excited when they could see their blocks come together! It was great fun to see the variety of fabric combinations.

Here is another gorgeous block made by Sue.


Christine was pretty much on her way to a completed top by the second day. She sent along a photo of her completed top. Don’t you just love that border????

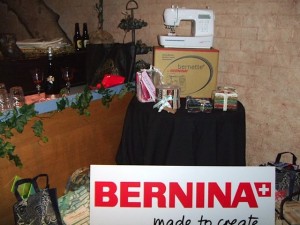
Each night there was a fun dinner event and lots of door prizes given away! Someone even won a Bernina Sewing Machine!!! The last evening, we were out to eat a delicious Italian meal and more prizes were given. It was clear that this first year of Quilting in the Highlands was a huge success.

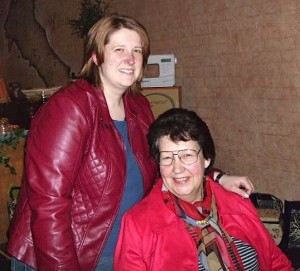
Tamsin and her mom, Sue, were such wonderful hostesses and all of their efforts were so appreciated by everyone! Where else could you find kangaroos in the wild, morning tea breaks, fabulous fun quilters, world class instructors, a super venue, door prizes, great meals and fun, fun and more fun?  I do believe that the quilters who came this year will be back for more fun next year and I expect they will bring their friends. I feel so fortunate to have been one of the teachers at the first Quilting in the Highlands and expect this venue will become one of Australia’s premier events.

If you want to read more about next year’s plans, here is a link to Berrima Patchwork web site.

Thank you Sue and Tamsin for a wonderful event and your friendships,

Carol


Wow, it has been a really busy week….

Sunday, June 3rd, 2012

The Carol Doak Yahoo Group reached 8,000 members so I created the 8,000 Member Celebration Block shown below.

Then we celebrated our 6 Year Anniversary, so I created the 6 Year Anniversary Celebration block shown below.

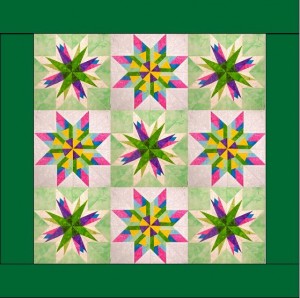
Both of these blocks were tested and made by Nansi who did a fabulous job. I was able to play with a mock up of the two blocks to create the sample combination quilt above.

And just so our members weren’t bored, I also uploaded the new June BOM for our new Mystery Quilt.

This should keep our 8,000 members hopping for a bit…

All the best,

Carol

Let the Fun Begin!!!

Monday, May 14th, 2012

This is short and sweet! I just uploaded the fabric requirements for the BRANDY NEW 2012 BOM MYSTERY to the Carol Doak Quilting Group. This one is geared for beginners so if you want to play and learn at the same time, hop on over to the group and join in the fun.

I’ll see you there!

Carol