Archive for the ‘Workshops’ Category

New Craftsy Class: Amazing PAPER-PIECED STARS

Friday, September 12th, 2014
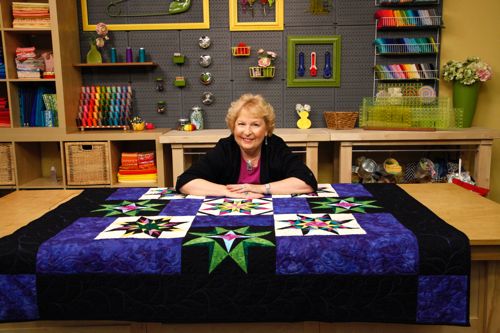
477_Paper_Pieced_Stars_Headshot_061_retouchedSome of you know that last year I was diagnosed with Breast Cancer. What most of you don’t know is that I was scheduled to fly to Denver two days after the diagnosis to film my second Craftsy class. It quickly became evident that neither my mind nor my body was ready to take on that task. My producer at Craftsy was simply amazing canceling everything allowing me to focus on my immediate medical needs. I already had my suitcase packed with all the supplies I would need to present the class. Rather than unpacking it, I simply placed the suitcase in my closet. Perhaps that was my mind telling me that this event was only going to be delayed.

I am pleased to tell you that last month, I did fly to Denver with that suitcase to film my new Paper-Pieced Stars Class.

titleCard

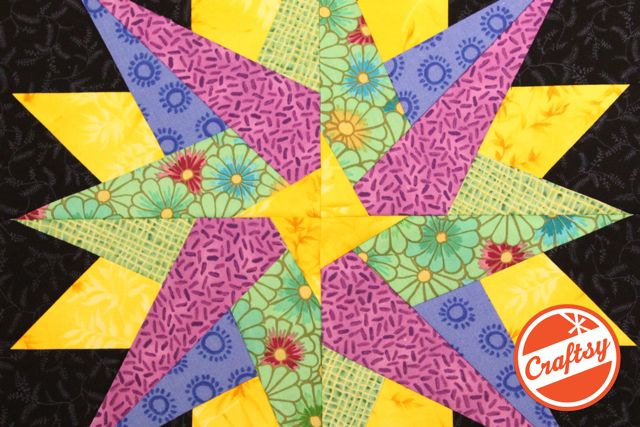
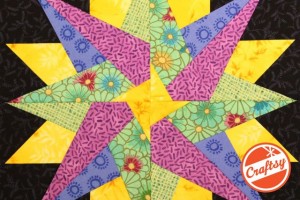
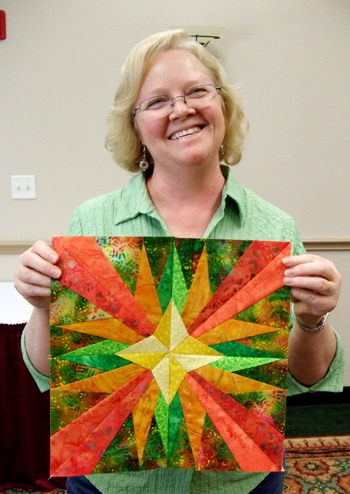
In this class, you’ll learn a variety of techniques as you paper piece six of my Eight-Pointed Star designs created just for this class, which you can combine into a fascinating medallion-style quilt (the patterns come with your class!). I’ll help you achieve perfect points with my best stitching and pressing tips.

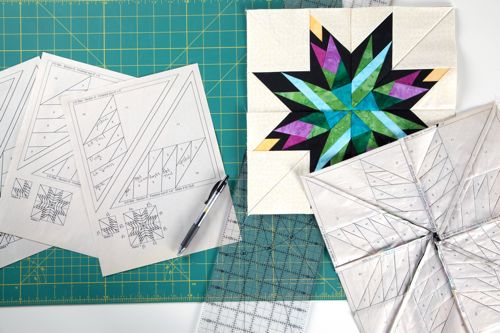
We’ll start by going over the tools you’ll need for success with paper foundation piecing. I’ll guide you through the cut lists in your class materials, so you can prepare all your fabric pieces with tips for staying organized and efficient!
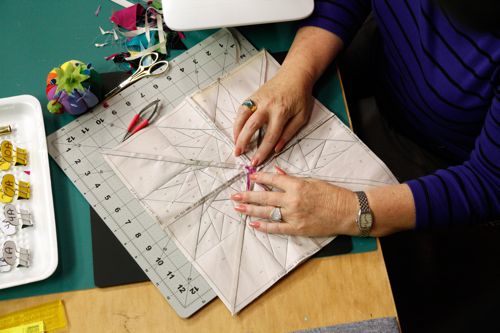
477_Paper_Pieced_Stars_03_retouchedYou’ll see how to simplify tricky seams and blocks.
477_Paper_Pieced_Stars_07_retouchedWe’ll even cover how to calculate the yardage needed for every fabric group in a quilt.

477_Paper_Pieced-Stars-0038_retouched

Next, you’ll gather up all the fabric goodies you need to create the simple yet striking Twinkle Star block. I’ll help you set up your sewing machine, pick the right tools to work with and choose the best stitch length for wonderful results. Then, you’ll see how to accurately lay your fabric onto foundations, sew and press it perfectly.

477_Paper_Pieced-Stars-0061_retouched

In our following lesson, I’ll walk you through constructing the 3-D Star block with its eye-catching dimension. Along the way, I’ll share my tips for choosing fabrics and constructing your block with perfect points, reduced bulk and flawless seams.

You’ll learn some new tricks as we create the captivating Pointed Posy Star block. In this lesson, we’ll cover how to mix and match different foundations. Plus, we’ll talk about how you can simplify blocks by reducing the number of pieces and seams.

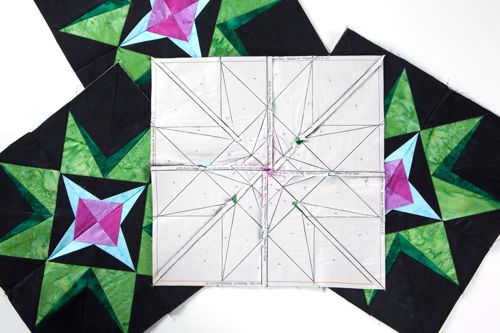
We’ll move on to constructing the exquisite Twisted Tulip Star block with step-by-step instructions. During this lesson, you’ll discover how to mix and match different foundation sections to create new, fascinating star blocks. You’ll even pick up a trick for fixing points that don’t match up perfectly.477_Paper_Pieced_Stars_49_retouched
After that, you’ll see how to sew the Windmill Star block with its exceptional movement. In this lesson, I’ll share my practical guide to color, so you can be inspired to create a harmonious block you love!

We’ll continue with the radiant Starburst Star block. I’ll teach you about creating secondary patterns with eye-catching color effects that dance around your quilt! We’ll also discuss a simple method for calculating the yardage you’ll need for each fabric group in a quilt, so you can buy the amount of fabric you actually need. There’s even a cheat sheet in your class materials that makes this process that much easier.

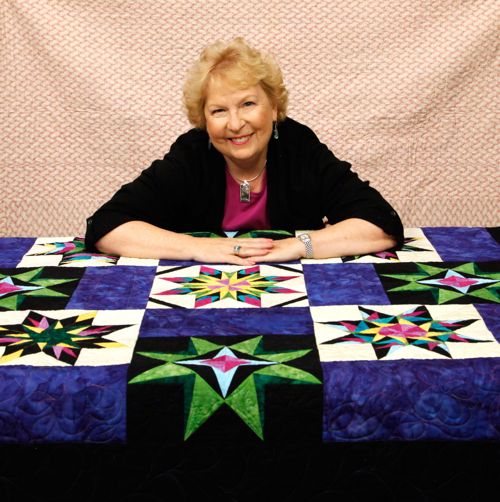
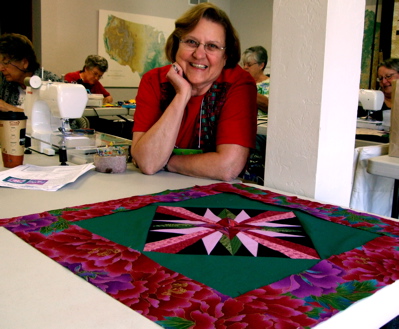
477_Paper_Pieced_Stars_Headshot_056_retouched

If I look happy and relaxed in this photo, I was. I thoroughly enjoyed finally filming this class when I felt healthy and happy. I hope to see you there. The class is scheduled to go live on the 23rd of this month at www.craftsy.com

All the best, Carol

Craftsy Here I Come!!!!!

Tuesday, March 26th, 2013

titlecard_fb
About two years ago, I made the decision to cut back on my teaching travel schedule to spend more time with my family. I don’t regret my decision because it also gave me more time to design and write another book. However, the requests for me to teach continued and I really missed playing with my students. When the folks at Craftsy approached me about developing an online course about Foundation Paper Piecing, it was the perfect answer! I could develop a comprehensive course, interact with students and still share my tried and true foundation paper piecing techniques with quilters worldwide!

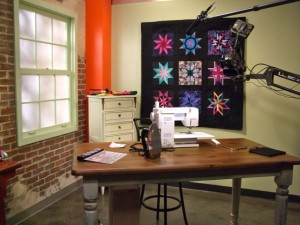
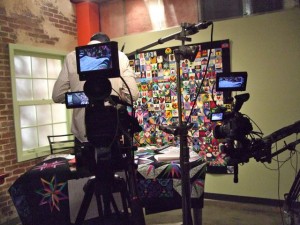
SetI flew to Denver where I had a wonderful set, producer, camera people and spent several days shooting the 8 segments of the course. What I would like to do in this blog is give you an pretty in depth description of what you will learn through this course. Keep in mind that unlike a live class room, I can show and demonstrate so much more information because I am not interacting with a live classroom waiting for everyone to move forward. You can watch the course at your own pace and move forward at your pace. I begin the course by introducing exactly what foundation paper  piecing is and what blocks are good candidates for this method and what blocks are not.

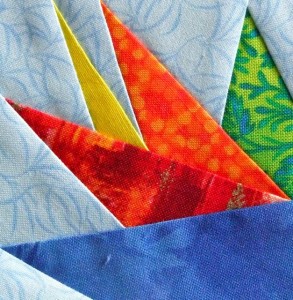
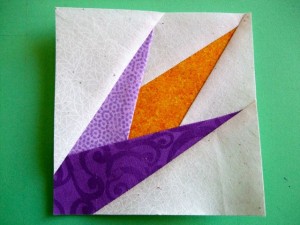
Bird of ParadiseIn the next lesson, I describe some of the tools I use for paper piecing and how I choose fabrics and create a cutting list for a block. Keeping things organized is so helpful when paper piecing.

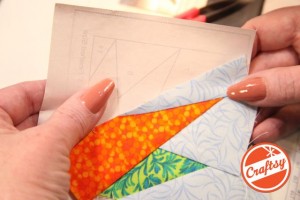
Making a blockIn the next lesson, I take you through the set-up for paper piecing, and walk you through making a block. The camera close-ups are so valuable to see exactly what I am doing. In the third lesson, lots and lots and I mean lots of tips and tricks are shared. Information about calculating yardage for a paper-pieced quilt, how to cut the fabric pieces quickly, how to cut the fabric so it will open to the straight grain, how to calculate how big each fabric piece should be, and how to make and use pieced units. You will use this information over and over again! I also share lots of the foundations that I used in this lesson as bonus patterns.

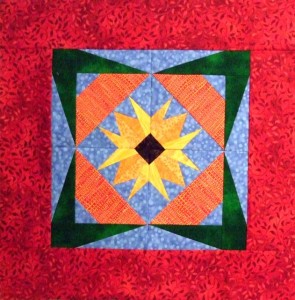
SunflowerIn the next lesson, I chat about modifying a paper-pieced block and we assembly-line paper piece this little Sunflower quilt. Joining units so they match perfectly is covered here.

9-PatchIn the next lesson I cover multiple unit paper-pieced quilts as I show how to make a 9-Patch Star Quilt. Lots of tips in this lesson too!

Mariner's Compass

In the next lesson I share a new Mariner’s Compass Style block set on point. Tips for using triangular blocks, joining the blocks and a piece across them are covered here.

Craftsy shot2In the last lesson, I chat about designing your own paper-pieced blocks and some of the types of quilts you can make using the techniques learned throughout the course. So that is not everything, but it gives you a flavor of the type of information you will learn throughout the course. I think it is pretty comprehensive.  However there are bonuses like…an ebook of 50 Little Paper-Pieced Blocks, class materials, the ability to watch the lessons at your convenience, to ask me questions, to make video notes to watch again particular sections, to share your projects with other students, receive new designs that I created just for this course and all with a money back option if you are not happy with your purchase.

Now, what could be better? How about a link to sign up and receive 25% off the tuition price? Just click on the image above and that will happen for you.

See you there!

All the best,

Carol
All the best,

Carol


Paper Piecing the Carol Doak Way (Easy Way)

Wednesday, April 4th, 2012

Recently I have run across several tutorials on the web explaining how to paper piece. Athough they are well meaning, gosh, they often make it more difficult than it is. So, I was always taught, don’t complain, make it better. Therefore, I decided to create my only online tutorial and here it is. Enjoy, Carol

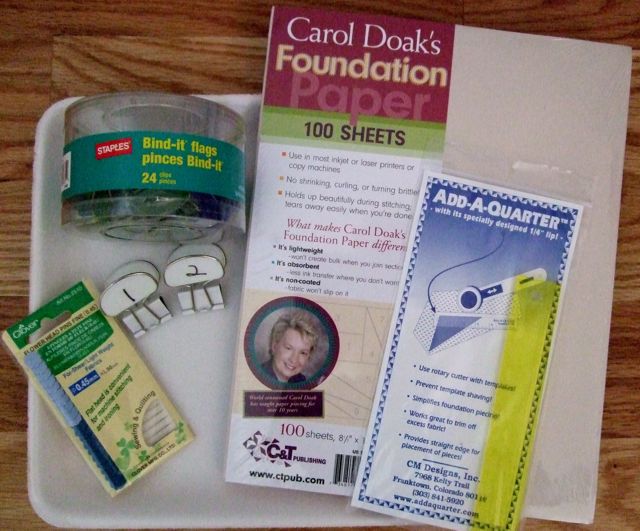
Supplies:

Carol Doak Foundation Paper-Perfect for paper piecing because it is easy to use, will not loosen the stitches when removed, eases when joining blocks and easy to remove.

Flat Headed Pins

Add-A-Quarter Ruler attached to a postcard with the 1/4″ edge over the edge of the postcard. Place the ruler on the right side for right-handed cutting and left side for left-handed cutting.

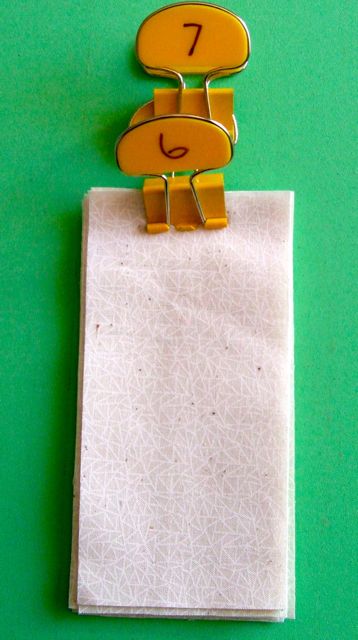
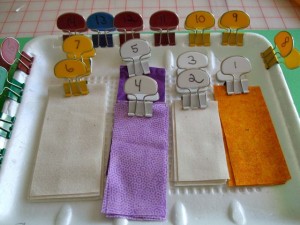
Binder Flag Clips labeled #1-7 to number your fabric pieces

Styrofoam meat/fruit tray to transport your pre-cut fabric pieces

Size 90/14 needle

Iron set on cotton setting, no steam.

Rotary Cutter and rotary mat

Foundations

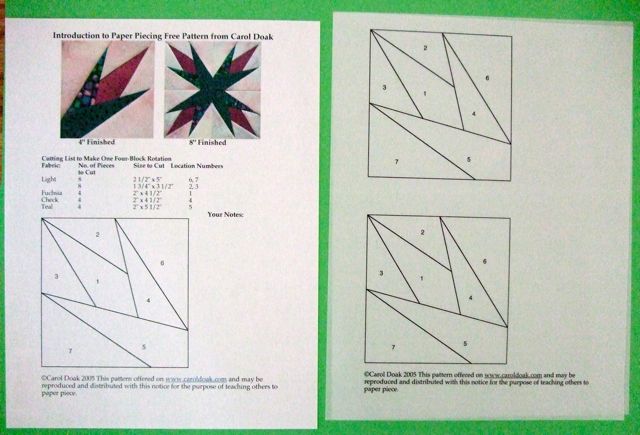
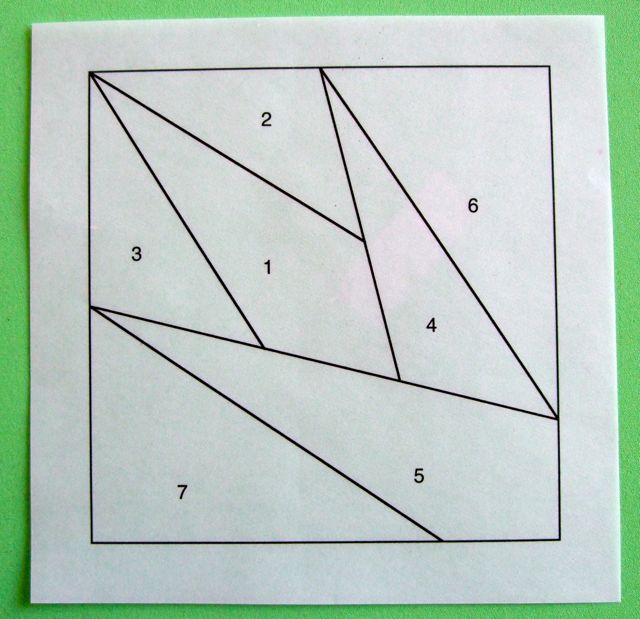
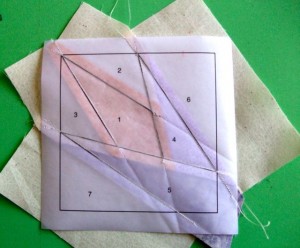
1. Select your foundation and print on Carol Doak Foundation Paper. I am going to use “Introduction to Paper Piecing” offered in the Free Patterns section of my web page. Please note that for the purpose of showing how this is done, I will use vellum in the photos below so you can see through the foundation.

2. Print one of page 1 for your cutting list on copy paper.

3. Print two of page 2 on Carol Doak Foundation paper to make four foundations. I will demonstrate making one block.

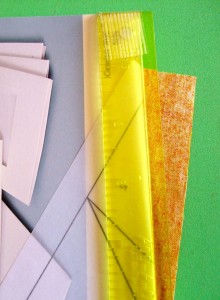
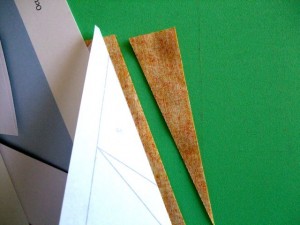
4. Using your rotary cutter and ruler, trim the foundations 1/2″ from the outside solid line.

 Fabrics

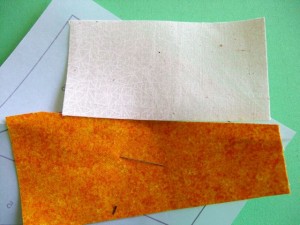
1. Using the cutting list provided on page 1, cut and label your fabric pieces. It is easiest to cut a strip the smaller measurement and then cut the lengths. For instance, the first item on the list is 8 pieces, each 2 1/2″ x 5″ and they are used for location number 6 and 7.

Cut a strip 2 1/2″ wide and then cut the 8 pieces each 5″ long from the strip.

2. Clip your #6 and #7 Binder Flag to this group of fabric.

3. Cut the remaining pieces in the list in the same way and place them on a Styrofoam meat/fruit tray.

 Sewing Machine

Set up your sewing machine with a neutral color thread, a 90/14 needle and 18 to 20 stitches to the inch. That is about a 1.5 on a sewing machine that has a range of 0-5.

 Step-By-Step Paper Piecing — Trim, Sew, Press

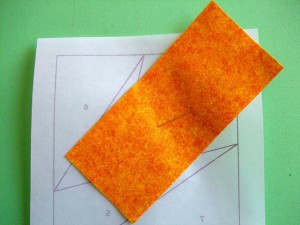
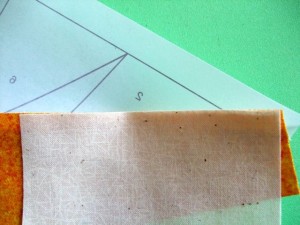
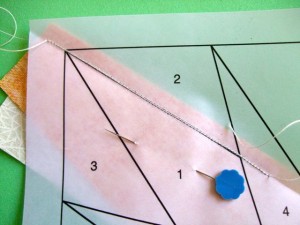
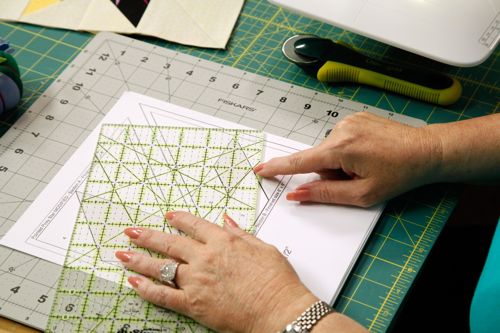
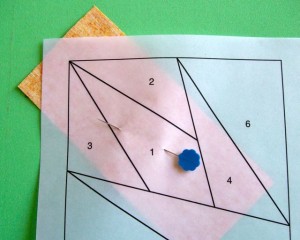
1. Select the #1 fabric piece and position it RIGHT SIDE UP on the BLANK side of the paper over the #1 area. Be sure that it covers the area completely with at least 1/4″ all around the #1 area.


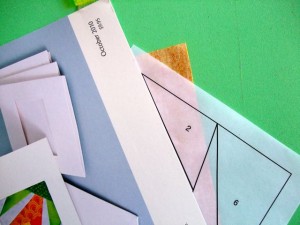
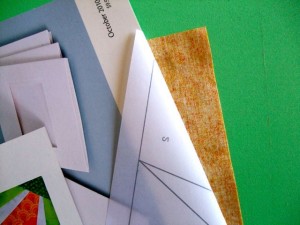
2. Place the postcard on the line between #1 and #2. Fold the paper over the edge of the postcard exposing the excess fabric beyond the #1 seam line.


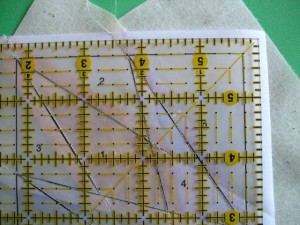
3. Place the Add-A-Quarter ruler along the edge of the fold and trim away the excess fabric.


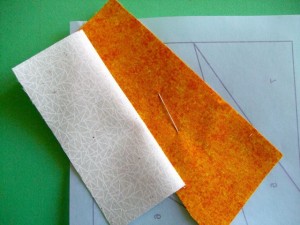
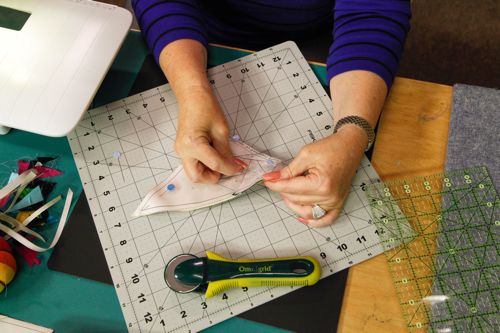
4. Place the #2 fabric right side up over the area it needs to fill to ball park placement, then right side together with the previous piece along the just trimmed line.


5. Confirm that the ends of the #2 piece will cover the #2 area.

6. Pin in place.

7. Place with the lined side up under the presser foot and sew on the line, extending the stitches 1/2″ on each end. Remove and press the #2 piece open.


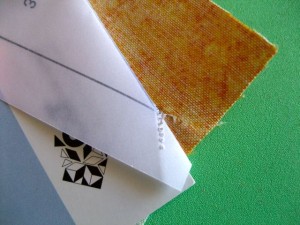
8. Now, using the #3 line, follow the same sequence of trimming, sewing  and pressing as described in steps 2 through 7. Remember when you extended the stitching on each end of the line? Well, when you place the postcard along the #3 line, you will need to pull away the stitching from the paper at the pointed end to fold over the card. That is fine. However, the fabric pieces will still be stitched in the seam allowance area and that cuts down on bulk in these areas.

9. Once the #7 piece has been sewn the block is trimmed 1/4″ from the outside sewing line.


And here is your awesome block all finished with those perfect points. To make the 8″ block featuring a 4-block rotation, simply make three more blocks assembly-line fashion and join them.

For lots of tips and tricks about paper foundation piecing (measuring your fabric pieces, joining blocks, speed methods etc.), I would suggest any of my paper piecing books and/or DVD, Carol Doak Teaches You to Paper Piece.

I hope these instructions will encourage you to give paper piecing a go and if you are already paper piecing, I hope they add to your enjoyment of this fun method.

Carol

©Carol Doak 2012

What Happens in Vegas……Is Just Plain Fun!

Tuesday, October 26th, 2010

At the beginning of the month, I had the opportunity to go to Las Vegas to lecture and teach workshops for the Desert Quilters of Nevada. It was a fun-filled three days and I would encourage anyone in the area to take advantage of this wonderful quilt guild. I am sure they will greet you with open arms and their members will inspire and encourage you. I was really impressed to see all that they accomplish.

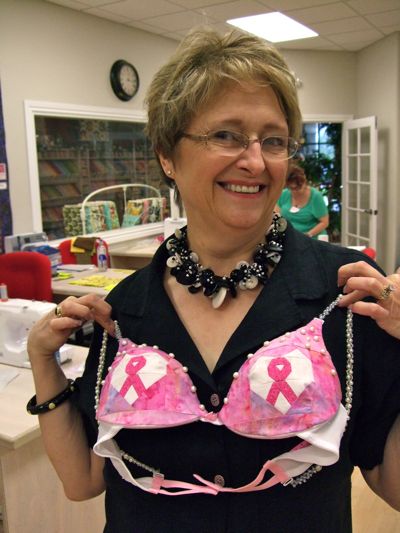
After teaching for the guild, I began a couple of days of teaching at Quiltique…a wonderful shop in the area. Jan, above is showing off a bra that was made for the Breast Cancer project featuring my free block design. Who would of thought?

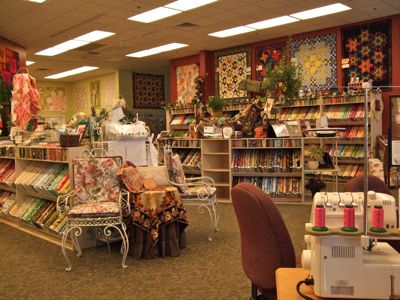
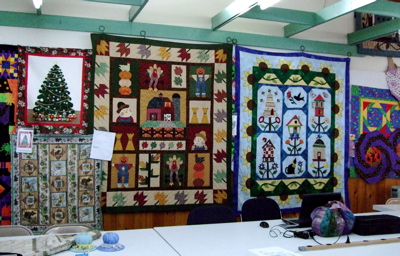
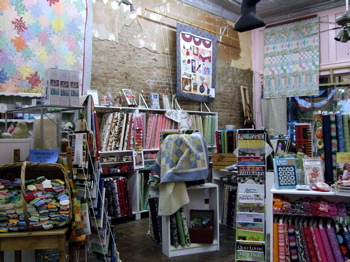
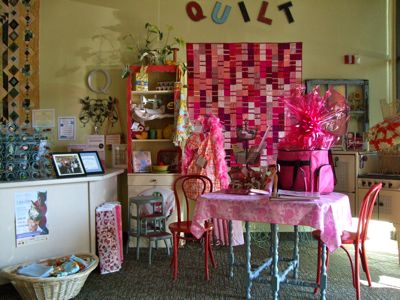
The event was held in the shop and you can see they went all out for it.

If you are anywhere near Henderson, NV, don’t miss stopping by this gorgeous shop. The people who run it are pretty gorgeous as well, both inside and out.

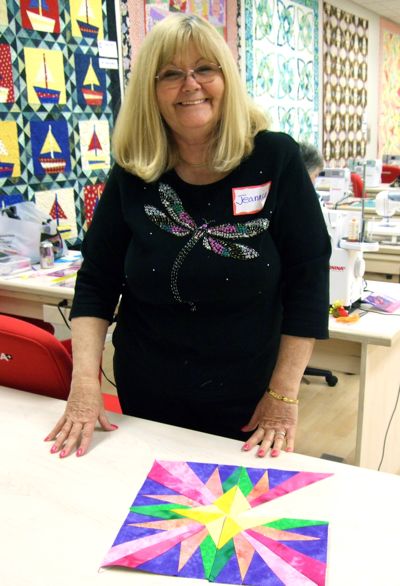
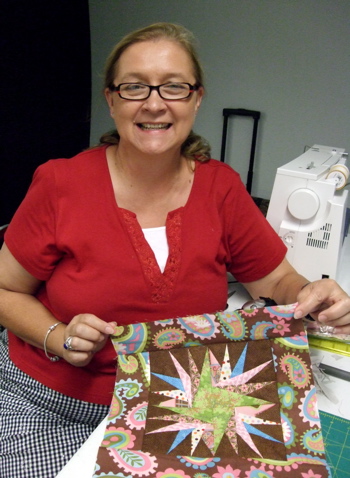
The first day I taught the Bright Stars class from the Simply Sensational 9-Patch Stars book. Sandy is really pleased with her progress….where is that corner block Sandy?

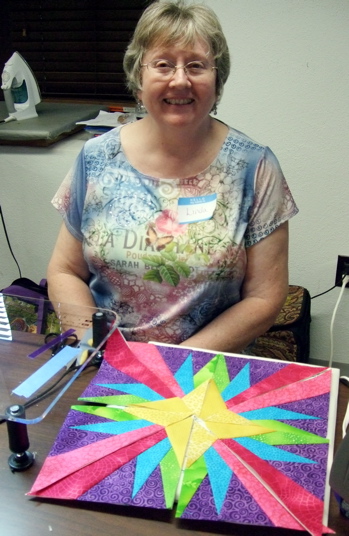
The second day I taught the Sunrise quilt from the Mariner`s Compass Stars book.  OK, so where is that missing piece? Seems to be a theme here in the Las Vegas area….but I am not telling.

And as if spending several days with wonderful quilters, teaching in a gorgeous shop and classroom was not enough…I had the chance to see Phantom of the Opera at the Venetian. I can’t say enough about how fabulous it was!

I came home with lots of great memories and unfortunately because it happened in Las Vegas….mums the word.

All the best,

Carol
Let Me Show You How to Paper Piece

Saturday, January 23rd, 2010

The Quilt Show

My show is now appearing at The Quilt Show. If you have never seen me demonstrate how to paper foundation piece, next week is your lucky week.   The Quilt Show has made it possible for you to watch my show for FREE next week!

The Link to watch TQS Episode 602 for Carol Doak available from January 25th through January 31st: http://www.thequiltshow.com/season6/602/driveIn.php?coupon_number=112284836207

The Quilt Show does such a super job presenting programs that allow quilters all over the world to watch when they want to watch them.

If you find you are loving it, there is a second opportunity.

There is a “Redeem Gift Certificate” button at the top of the page when your go to watch your show.  To receive $10 off the price of a 1 year TQS Membership, you must use Coupon Number #112284836207 when redeeming this gift certificate.

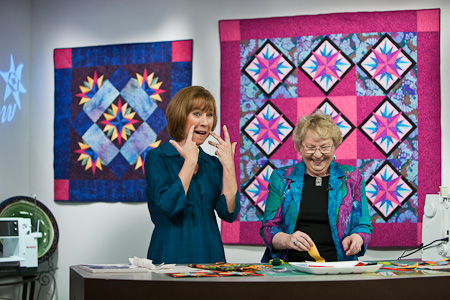
I actually traveled to LaVeta, Colorado last March to film this segment. I have known Ricky and Alex for many years so it was fun to share the day with them. I shared how I paper piece Mariner’s Compass Star blocks. I also shared some tips and tricks along the way. Alex and I also had a bit of fun.

Mariner's Compass Stars Bundle

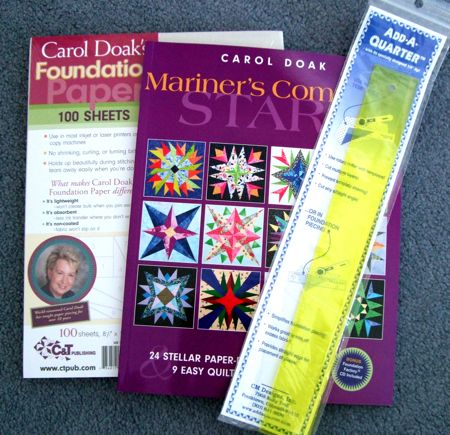
In honor of the airing of this segment, I have bundled the Mariner`s Compass Stars book, Carol Doak Foundation Paper and the 12″ Add-A-Quarter ruler in a reduced bundled package at my web store.

I didn’t want you to miss out on this opportunity.

After you watch the show, let me know what you think about the show and this format of learning quilting techniques online.

All the best,

Carol

The Oregon Trail

Tuesday, September 29th, 2009
Quilts at Homestead Quilts

Quilts at Homestead Quilts

OK, so I admit that my Oregon Trail might be slightly different, but when I had the pleasure of traveling to Oregon to teach and lecture for three guilds, it was fun to stop at several quilt shops along the way. After the workshop in Sunriver, Oregon, we stopped at  Homestead Quilts in LaPine, OR. It  is a charming shop.

Just popped in to say "hi"!

Just popped in to say "hi"!

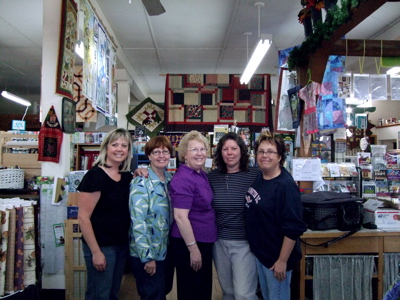
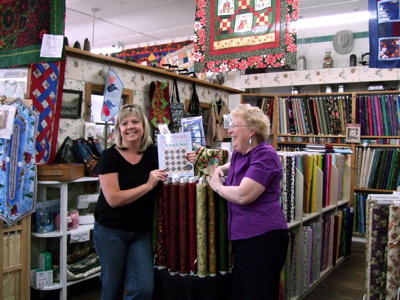
Cathy Buono, the owner, was very gracious and we caused just a bit of a stir when we popped in to say hi. Several customers and staff were there just having fun, so we posed for a photo op!

Honestly...I tried to be serious....

Honestly...I tried to be serious....

We laughed and we giggled and I really tried to be serious before this picture was taken…not.

Sew Many Quilts, Bend, OR

Sew Many Quilts, Bend, OR

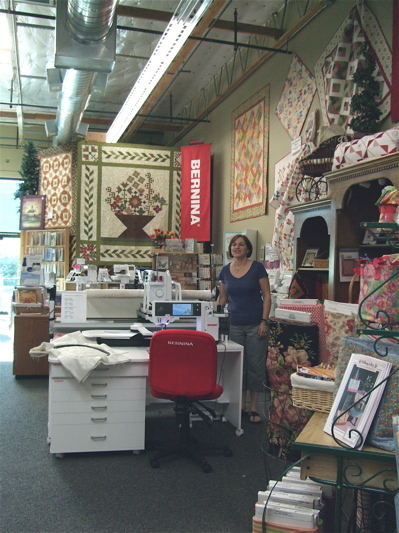
After the workshop in Bend, we were off to Sew Many Quilts. One is never too tired to stop at another shop. As soon as you walk in the shop, the high dramatic ceilings grab your attention.

Charming areas at Sew Many Quilts

Charming areas at Sew Many Quilts

It is a large shop filled with little nooks and crannies of areas set up with quilts and fabrics. What more could a girl want?

Tater Patch in Merrill, OR

Tater Patch in Merrill, OR

Having completed my events in Sunriver and Bend, we were off to meet up with the next group at a half-way point…which just happened to be the most charming shop in Merrill, OR. This is definitely a friendly down home quilt shop that is worth the effort to get there.

Tater Patch Quilts

Tater Patch Quilts

When you walk into a new quilt shop, you want to feel welcome and I certainly felt very welcome in each of these shops. If you are in the area, they all are worth the effort to stop by….tell, them Carol sent you…lol

Gerri putting on the triangles...

Gerri putting on the triangles...

I was here to teach and lecture so I guess I should include some of those fun pictures. Here Gerri is putting on the triangles on her France block from the Mariner’s Compass Stars book.

Contemplating a border

Contemplating a border

Having completed her center, this student is contemplating that to die for border fabric!

Cover Quilt

Cover Quilt

I always enjoy seeing how others complete my patterns. Here is the cover quilt from my book, Easy Machine Paper Piecing, beautifully done in several colors.

I returned home with very fond memories of my trip along my Oregon Trail.

All the best,

Carol
What a Bunch of Bull!

Friday, August 28th, 2009
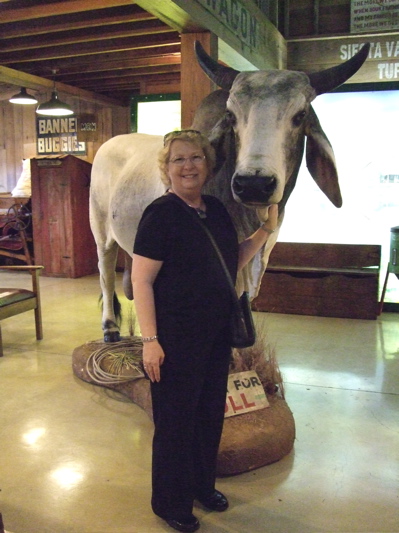
I'm easily impressed!

I'm easily impressed!

OK, so I just returned from a lovely trip to the hill country of Texas and ran across this bull….Thought the title of this blog would grab you.

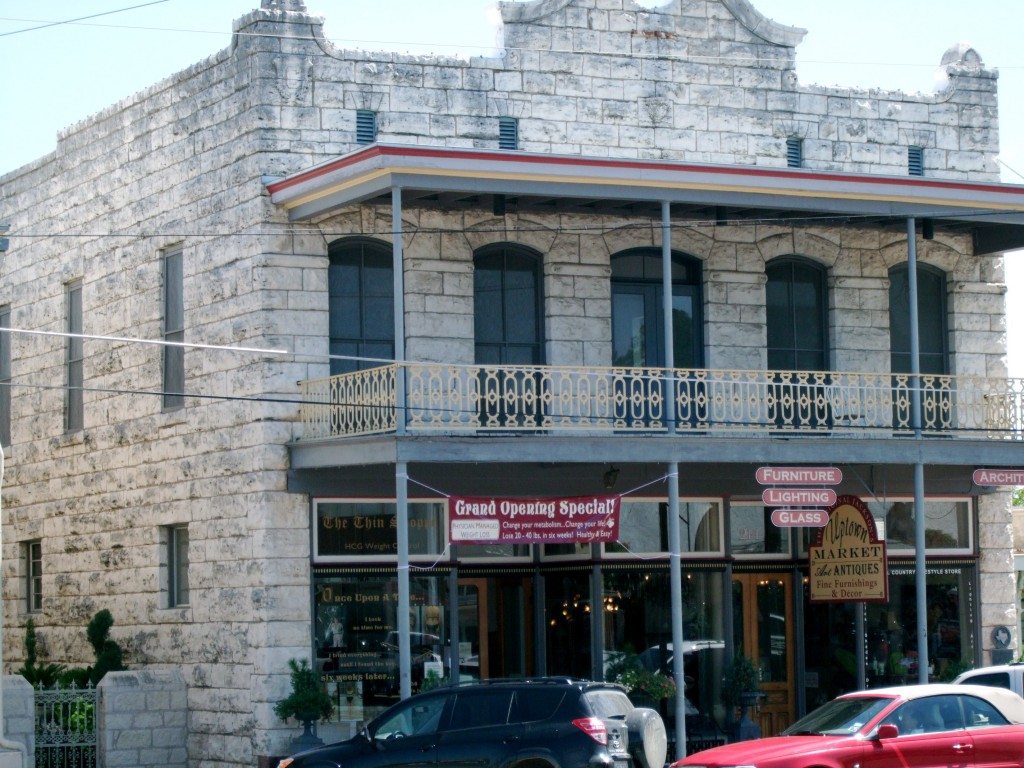
Downtown Fredricksburg

Downtown Fredricksburg

My first stop on this trip was to a lovely town called Fredericksburg. It is about 1 1/2 hours west of Austin and everything about this town is charming. The Main Street is lovely with lots of beautiful old buildings and interesting shops.

A happy student

A happy student

My first class was the Perfect Points class from 300 Paper-Pieced Quilt Blocks. Here we have one happy student.

Time to rip!

Time to rip!

This student is smiling even if she is doing the frog stitch!

Look at those perfect points!

Look at those perfect points!

Gotta love those perfect points!

She is hooked!

She is hooked!

Ok, one block done and cutting to makes lots more! I would say she is hooked!

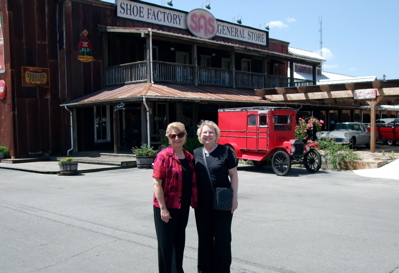
San Antonio Shoes!

San Antonio Shoes!

I love my San Antonio shoes! Sharon Ashby of the Hill Country Quilt Guild brought me to San Antonio so we could visit the factory store…gotta love a gal who knows how to shop!

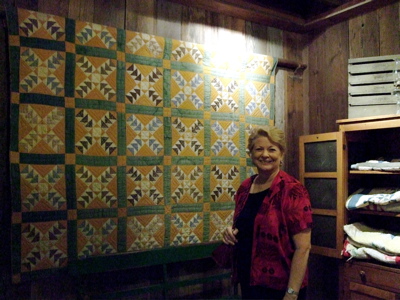
Quilt on the wall at SAS

Quilt on the wall at SAS

We even found a quilt on the wall inside the store. If they  like quilts, they are good in my book.

Creations Quilt Shop in Kerrville

Creations Quilt Shop in Kerrville

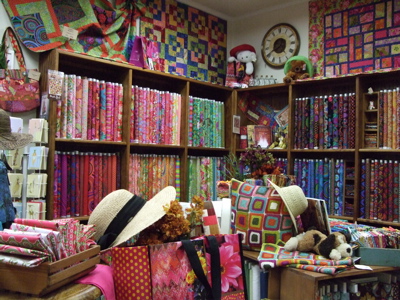
After one of the workshops, we were off to have the much talked about quilt shop, Creations. Oh wow and wow is all I can say. It is a fabulous shop with lots of rooms each having their own theme…this is a definite stop by if you are within a 100 miles! If you are not close by, you can always visit their web site: www.creations-online.com

Until next time….

Carol
Happiness Is Quilting

Monday, July 20th, 2009
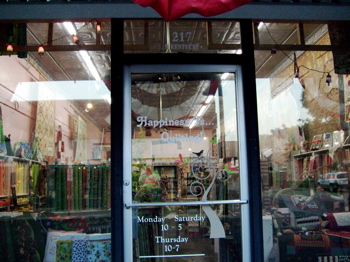
Happiness Is Quilting in McKinney, TX

Happiness Is Quilting in McKinney, TX

I just returned from a teaching trip to Texas. My first stop was in McKinney, Texas at a delightful shop called, Happiness Is Quilting. First off, McKinney is a charming little town with charming little shops and restaurants.

Shop2When you step in the door of the shop, the tin ceiling brings you back to another era. The high walls are the perfect place to display lots of quilts.

shop3Plan to spend some time here poking about as the shop has cute items at every turn.

Laura KayLaura Kay, owner of the shop, treated herself to the first day of workshops. Laura was having a good time….but then Laura always seems to be smiling.

Perfect Points

I taught the Perfect Points class on Sunday and everyone enjoyed seeing their Perfect Points appear just like magic!

SunriseOn Monday I taught the Sunrise Quilt. This student is admiring her sections before assembling them. Great colors!

lectureThen I was off to Bryan/College Station, Texas to present a lecture for the Blue Bonnett Quilt Guild. We had a record crowd show up that night.

Class1

I also taught the Sunrise workshop here. Now, I started to notice a familiar trend….the students seem to be wearing the same colors they brought for their blocks…red…

class2Teal anyone?

class3Some even matched their hair…

class4A happy student who likes green. A great time was had by all and lots of super quilts were nearly completed.

Until next, time

Carol
Somewhere Sewing

Tuesday, June 30th, 2009
Debi Moffett, owner of Somewhere Sewing

Debi Moffett, owner of Somewhere Sewing

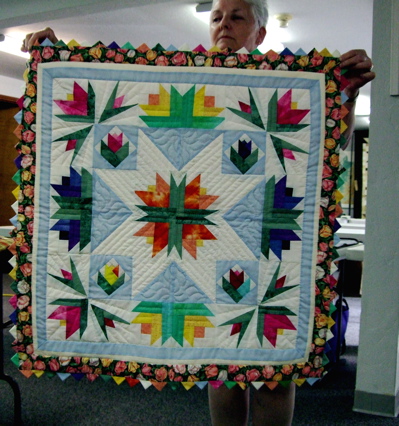
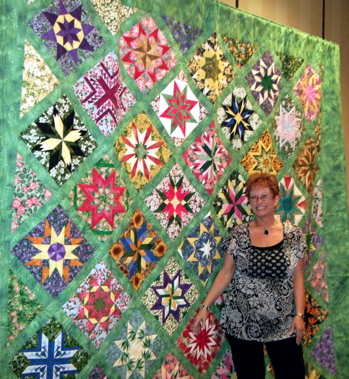
I just returned from a delightful trip to Johnson City, TN,  where I taught classes for Somewhere Sewing. The cracker jack owner, Debi Moffett, arranged for two classes. The room where the classes were taught was decorated by one of Debi’s customers, Lucy, who is no stranger to my designs. This stunning quilt, featuring the block designs from 50 Fabulous Paper-Pieced Stars, set the stage for a super couple of days.

Minis.....

Minis.....

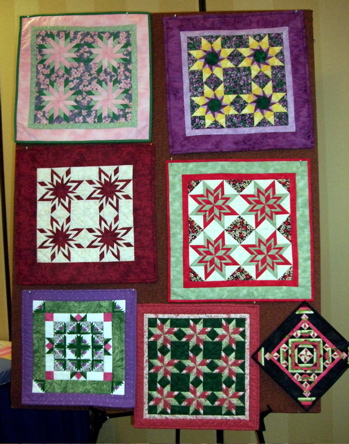
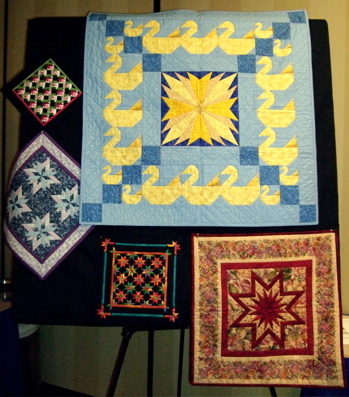
Lucy also brought several of her miniaturized versions from 50 Fabulous Paper-Pieced Stars as well as some miniatures from Easy Paper-Pieced Miniatures (out of print).

and even more minis and Just Ducky

and even more minis and Just Ducky

It was fun to be surrounded by all these lovely little quilts. The Just Ducky Quilt is from Easy Paper-Pieced Baby Quilts (out of print).

Free Miniature Pattern

Free Miniature Pattern

Susan proudly displays her version of the free miniature quilt pattern available here on my web site. I planned to wear that matching shirt….LOL

Perfect Points

Perfect Points

The first day, I taught the Perfect Points class. I do love teaching this class because everyone achieves those amazing Perfect Points easily!

Janice admires her Sunrise Block and setting triangle

Janice admires her Sunrise Block and setting triangle

When I travel to teach, sometimes I am fortunate to have a student in the class that I have “met” online in my Carol Doak Yahoo Group. That was the case with Janice. Since Janice lives in Knoxville, she signed up and came to the class. Now when Janice and I correspond on the group, I will know her in person.
All smiles

All smiles

You know, I just never tire of teaching classes because this is what it is all about for me. That big smile on the face of a student who has enjoyed the day, enjoyed the process and enjoys the results.

Fun and Friends

Fun and Friends

Now these three told me they were the “trouble makers”, however they were no trouble for me. Instead, they were delightful students and fun to be with.

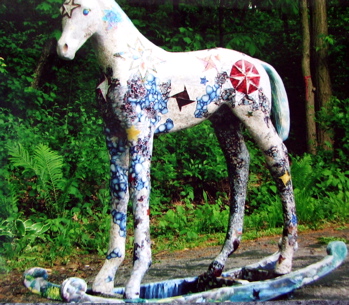
Star, The Rockin Colt

Star, The Rockin Colt

Now, this was a first for me. Paulette Jensen came to the class with pictures of a colt she had made for the “Colts on Parade” in Lake Geneva, WI. This was a fund raising event for Challenged Children on Horses.

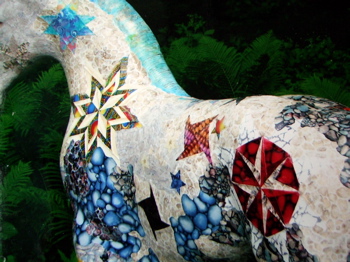
Hind quarter stars

Hind quarter stars

Paulette decorated “Star” with actual star blocks from my book. She used an acrylic gel medium to adhere the fabric blocks and then several coats of polyurethane to complete the project. Her efforts were rewarded with a top 7 Award Prize.

It was a fun trip all the way. If you are ever in the Johnson City, TN vicinity, a detour to Somewhere Sewing, is worth the trip! Tell Debi, I said “Hi, ya’all”

Merrily We Quilt Along

Tuesday, March 31st, 2009

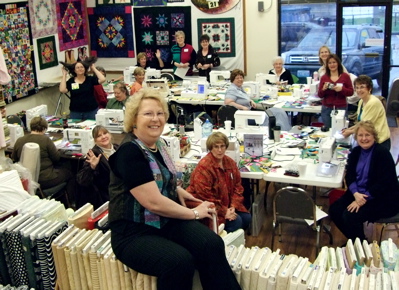
class1I just returned from teaching in a lovely shop in Springfield, Missouri. I’ll do anything to get just the right bolt of fabric…..even climb to the top of several shelves.

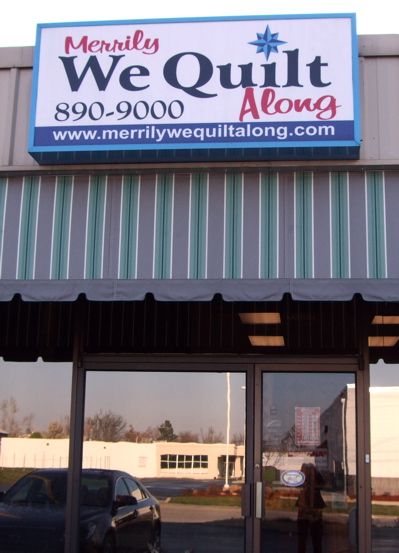
storefrontThe shop is located in a large building and not only contains the large shop, but a long arm quilting room and an amazing Tea room.

carolmerrilyThe first day I taught the Bright Stars workshop from the Simply Sensational 9-Patch Stars book. Here, Merrily, the owner is introducing me to the class. LOL, I think they knew who I was.

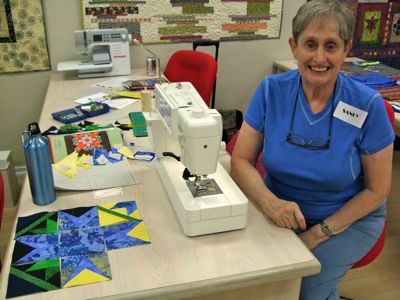
michelleMichelle is showing off the sections of her first star block for the wall quilt. She is sporting a name tag badge for the Carol Doak Yahoo Group. When members where their badge to a class, then I know they are a member of the group.
tearoomEach day when we broke for lunch, we walked through the shop, through the long arm quilting room and into the most wonderful Tea room for the best ever lunch and to die for desserts.
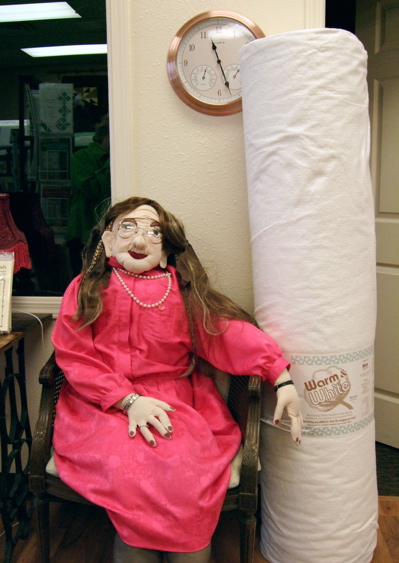
oldbatYou just never know who you are going to run into along the way. This “old bat” was right at home.
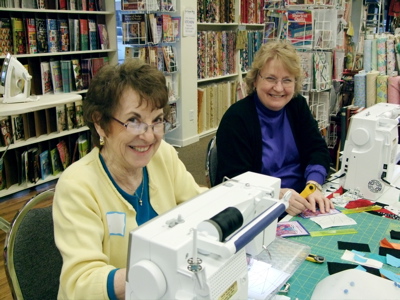
kaymerrilyOn the second day, I taught the Perfect Points class from the 300 Paper-Pieced Quilt Blocks book. Kay Turner and Merrily sat side-by-side in the class. I had to keep an eye on those too…they were constantly giggling.
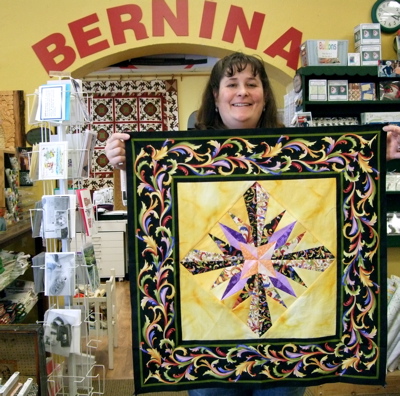
miteredThe third day was the Sunrise Quilt from the Mariner’s Compass Stars book. Everyone did a super job with their quilts. Vicki Crow is showing off her quilt top featuring just the perfect print border.
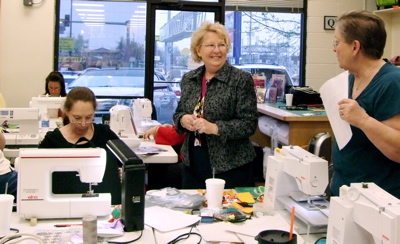
inclassI do love to teach and having the opportunity to spend the weekend at Merrily We Quilt Along with such delightful students was a gift.
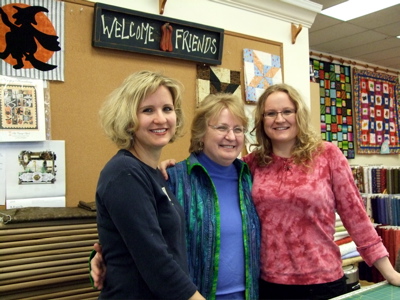
merrily-holly-and-heatherGetting to know Merrily (center) and her two charming daughters, Heather (left) and Holly (right) was such a pleasure. I did feel as if I was saying goodbye to good friends when I left because they do make you feel so welcome in their lovely shop and Tea Room. If you are ever in the Springfield, Missouri area, this is a must stop for any quilter. BTW, ask Merrily where I signed the wall with my special message.

Until next time,

Carol