Quilting Adventures
Wednesday, March 18th, 2009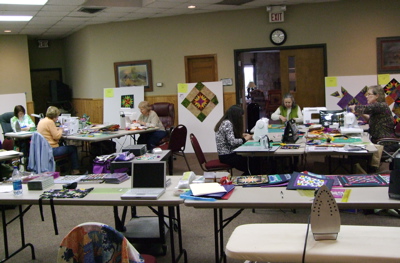
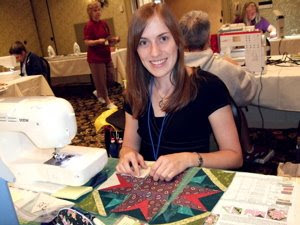
Last week I had the pleasure of traveling to New Braunfels, TX to teach at a five-day Seminar for Quilting Adventures. I do love a multi-day format because not only do I get to spend more time getting to know my students, I have the pleasure of seeing the finished project. Each day, the learning builds on the day before and I see the students become comfortable with the process. We began the class with a discussion about color and the students selected their fabrics.
 As the blocks were made they were put up on the design wall to audition different fabric choices.
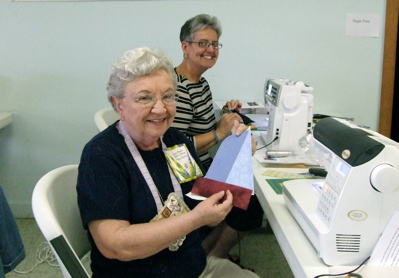
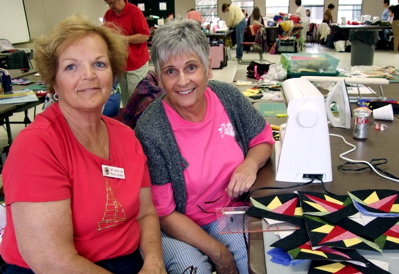
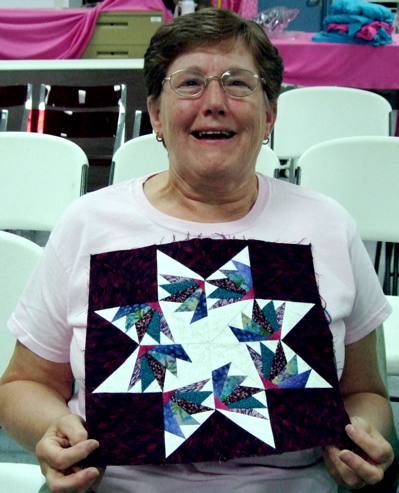
 The students learned to baste their sections to check for a good match. Nancy Ament was thrilled that she was in the basting stage when she opened her block to see she had added two of the same sections…we did have a chuckle over that one. The setting was wonderful and we all bonded as a group throughout the week. Lots of fun, laughs and learning took place.
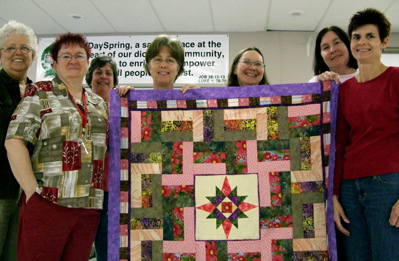
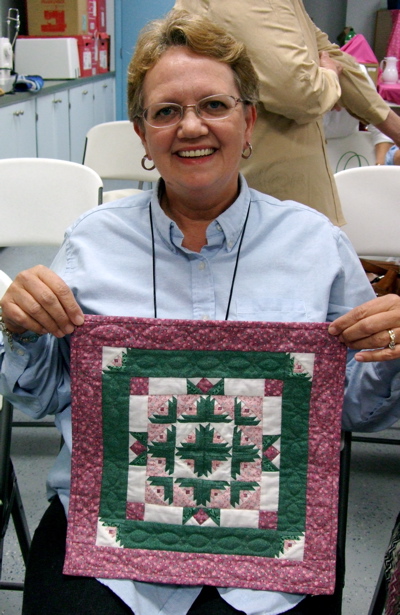
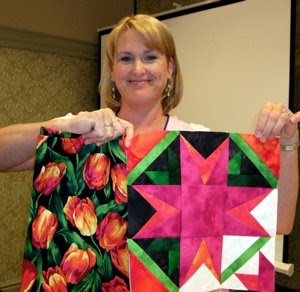
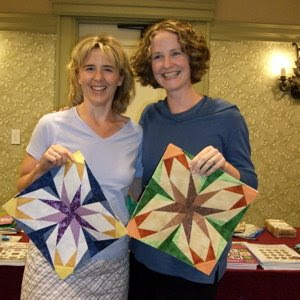
As the quilts were completed, I took pictures. I am so proud of all my students and loved seeing the results of their creativity and learning.
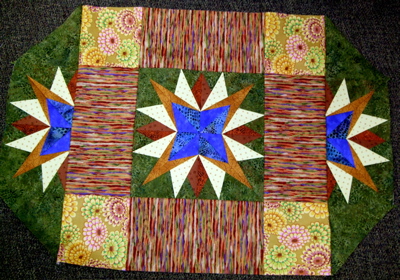
A potential table runner
As the sections were being added, this portion was admired as a potential design for a future table runner.
I used the Royal Medallion Quilt from the Mariner’s Compass Stars book as the basis for the skills in the class. Wait until you see what everyone accomplished!
Let the quilt show begin.
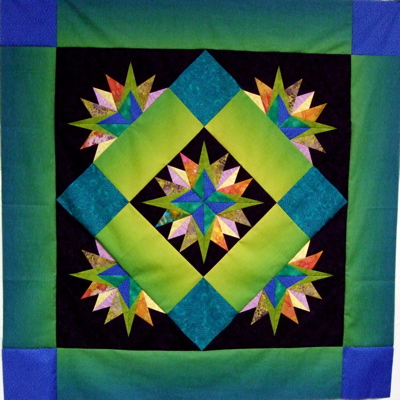
Rex and Chris McCaskill
Rex and Chris Mc Caskill are a husband and wife team who worked on this stunning quilt. Rex was a good sport and let me use his fabrics to describe how to choose fabrics to get the result you want. Rex and Chris had this fabric that had stripes of blue, yellow and green stripes that flowed from one to the other. He liked that fabric, so that was the basis for their quilt. I thought the end result was stunning. It appears the center compass is radiating light.
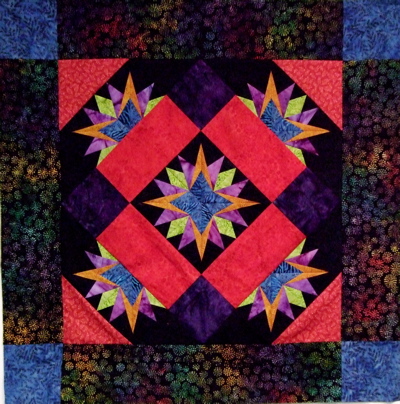
Martha Zimmerman
Martha began with a wonderful multi-color batik border and I heard her say more than once, “I love red”. So taking her lead, I suggested putting red triangles in the corners of the center. It really made the center pop!
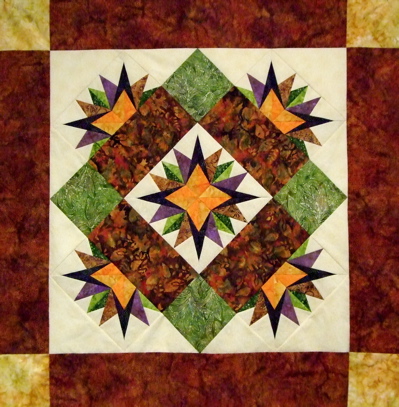
Linda Neal
Linda was one of the quickest students and not only finished her quilt, but began working on a miniature “My Little Town” quilt. The Autumn multi-color inner border fabric was the jumping off place for Linda’s fabric combination. It was so striking.
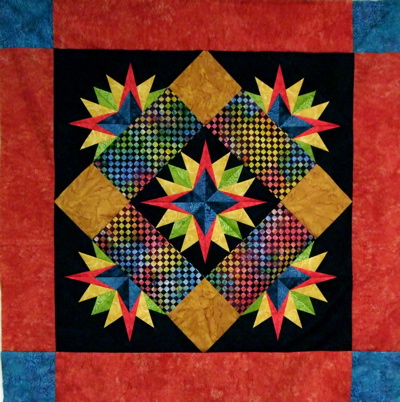
Linda Kager
Linda Kager came to the class with her Mom, who is a new quilter. Not only did Linda complete her quilt, but she was always there to lend a hand to her mom. The multi-color check in the center of this quilt gives it a contemporary look and the vivid colors just make you want to study the quilt.
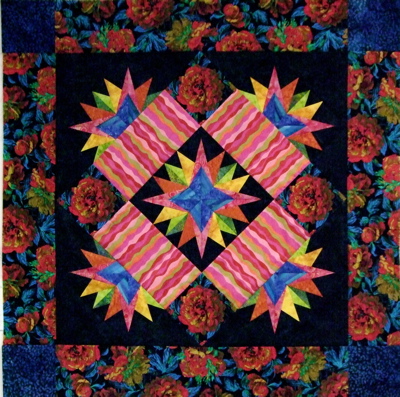
Margaret Sedlak
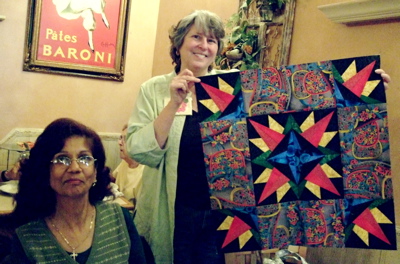
Margaret, oh I have a fun story for you all about Margaret’s quilt. Margaret struggled so with the suggestion that she use a batik stripe with the blue batik fabric she had for the center. Then she was struggling with her border choice so we went downstairs to the onsite quilt shop and look what we picked out for the border!!! This gorgeous large floral and bold pink stripe. The cornerstones featured a fussy-cut flower from the border print. The quilt was such a “Wow” quilt. We joked that she was going to call it “Blue Stripe”. I guess you had to be there to appreciate the 180 Margaret took. It was such fun!
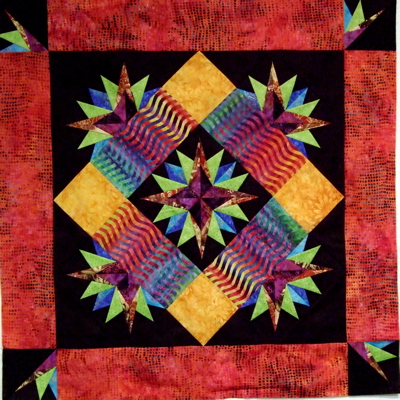
Georgia Roth
Georgia had this wonderful collection of beautiful batik fabrics with different textures that were all tied together with the stunning stripe used in the center border. The playful red border tied it all together, but Georgia wanted a paper-pieced accent in the four outer corners. At first she was going to make quarter blocks and then after finishing the A section, we decided to just use 1/8th of a section. They were placed so they looked like they were swirling around the quilt.
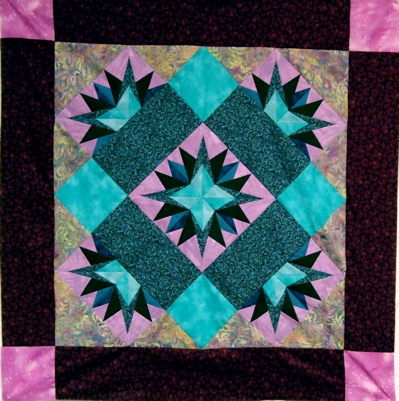
Nancy Lowe
When we discussed color, I suggested that the setting triangles could be a different color for a different look. Nancy took this approach and found just the right fabric that contained all the colors of her quilt to provide a wonderful ground for her center portion.
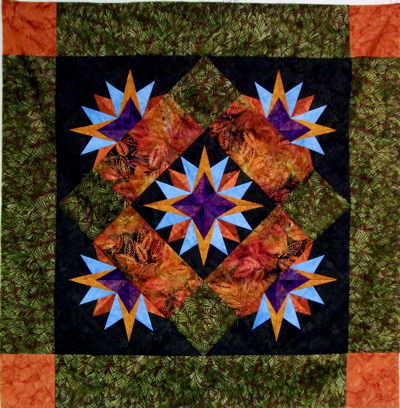
Beverly Wilson
OK, so Beverly saw her friends go shopping for new fabrics and decided she wasn’t happy with the fabric she brought for her inner and outer borders….so you guessed it…we went shopping. Beverly was very pleased with the final result.
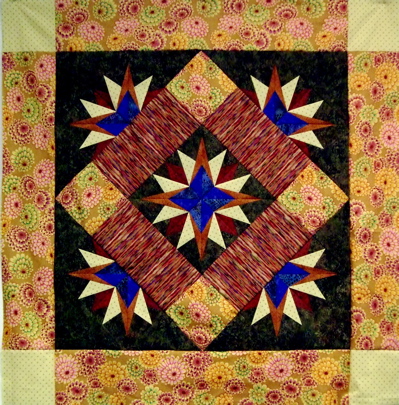
Nancy Ament
Nancy had completed her blocks and decided she wanted a more colorful outer border….off shopping we went. The end result was stunning. The dark ground in the center really made her colors pop.
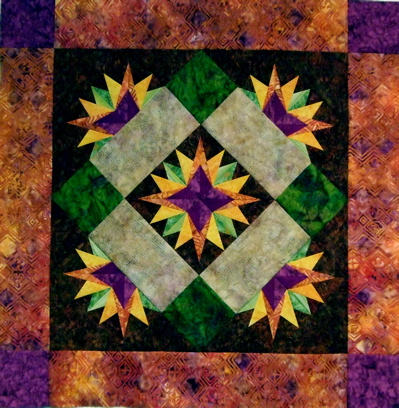
Marty Becht
The combination of the greens, purples and peach in this quilt was just gorgeous. The bits of yellow against the center ground was like rays of sunlight. Marty was very happy with her finished quilt.
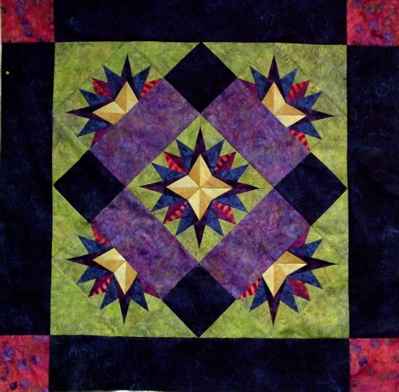
Marge Russo
Marge had come to the seminar with her daughter Linda. At first she was a little timid amount her skills, but boy, her confidence built each day. By the end of the seminar she was confident and thrilled with her first completed quilt.
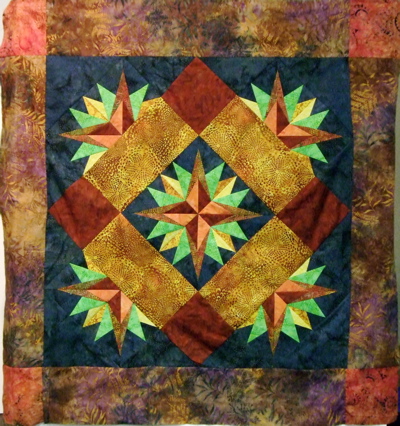
Dorothy Johnstone
Dorothy chose fall colors for her quilt. The outside border was her jumping off place. Dorothy is going to use this as the basis for a bed side quilt for her grandson. We brainstormed how she could add blocks and borders to make it larger.
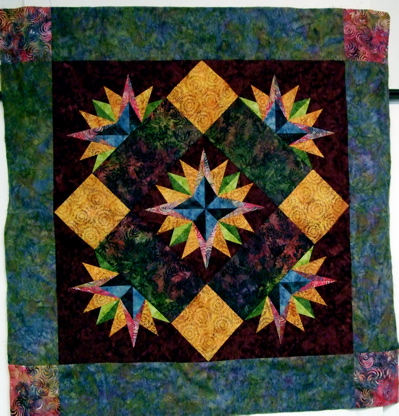
Lynda Thompson
Lynda had a gorgeous collection of batik fabrics for her quilt. She was encouraged to use the gold and when she completed the quilt, I think she was thrilled that she did.
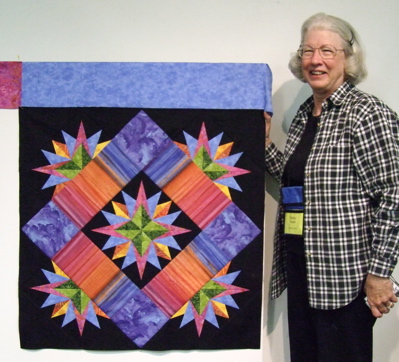
Sherry Hughes
Sherry is not afraid of color and her rainbow colored quilt turned out beautifully. She decided on the light blue outer border, but unfortunately there was none to be had in the store so her quilt will be completed when she gets that fabric. She is smiling because she only has the outer border to add to complete her lovely quilt.
I thoroughly enjoyed my week with my students and hope you enjoyed seeing their gorgeous quilt tops.
All the best,
Carol


