Archive for the ‘Carol Doak Foundation Paper’ Category

Paper Piecing the Carol Doak Way (Easy Way)

Wednesday, April 4th, 2012

Recently I have run across several tutorials on the web explaining how to paper piece. Athough they are well meaning, gosh, they often make it more difficult than it is. So, I was always taught, don’t complain, make it better. Therefore, I decided to create my only online tutorial and here it is. Enjoy, Carol

Supplies:

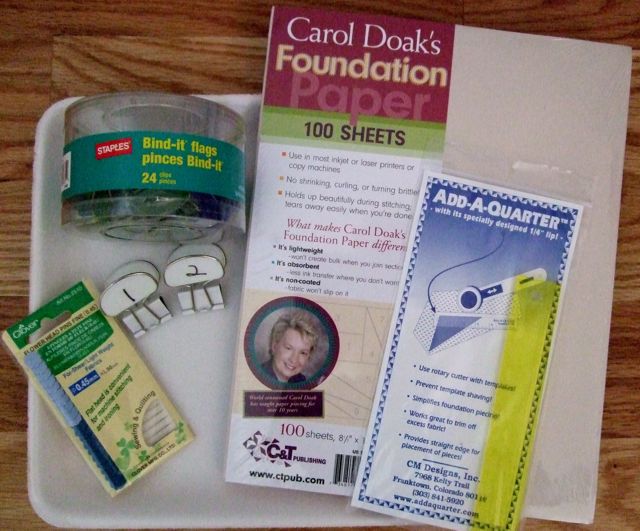
Carol Doak Foundation Paper-Perfect for paper piecing because it is easy to use, will not loosen the stitches when removed, eases when joining blocks and easy to remove.

Flat Headed Pins

Add-A-Quarter Ruler attached to a postcard with the 1/4″ edge over the edge of the postcard. Place the ruler on the right side for right-handed cutting and left side for left-handed cutting.

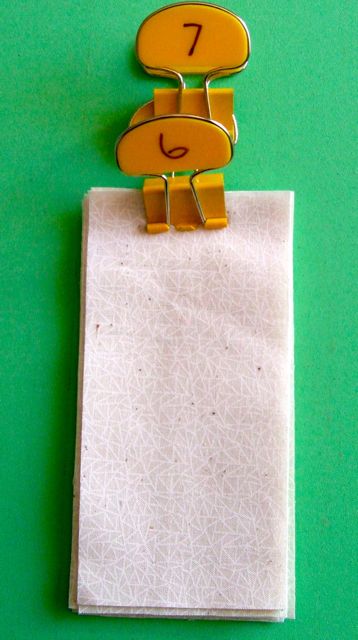
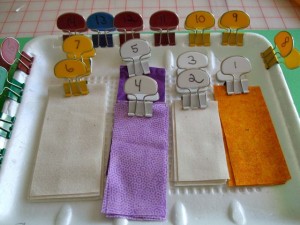
Binder Flag Clips labeled #1-7 to number your fabric pieces

Styrofoam meat/fruit tray to transport your pre-cut fabric pieces

Size 90/14 needle

Iron set on cotton setting, no steam.

Rotary Cutter and rotary mat

Foundations

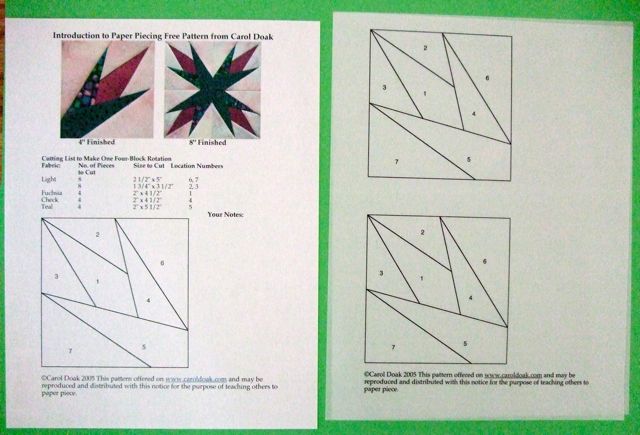
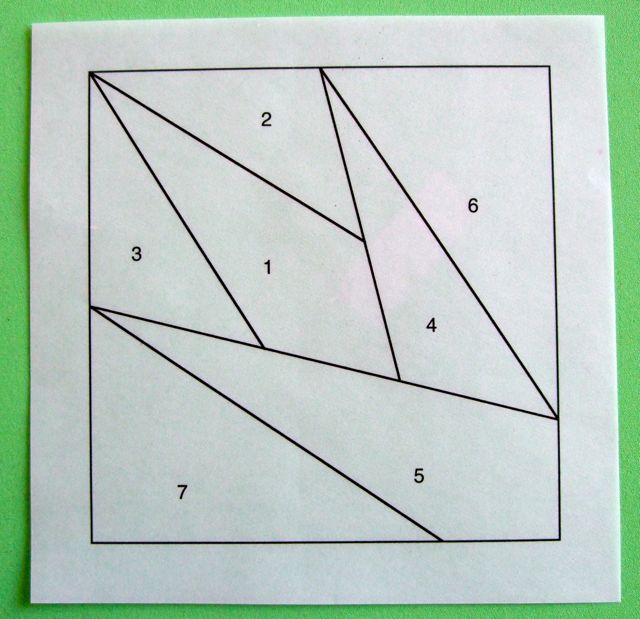
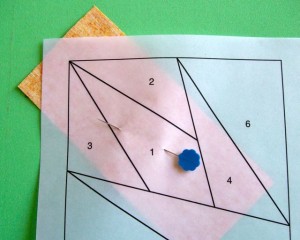
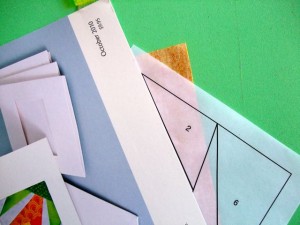
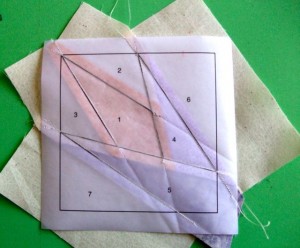
1. Select your foundation and print on Carol Doak Foundation Paper. I am going to use “Introduction to Paper Piecing” offered in the Free Patterns section of my web page. Please note that for the purpose of showing how this is done, I will use vellum in the photos below so you can see through the foundation.

2. Print one of page 1 for your cutting list on copy paper.

3. Print two of page 2 on Carol Doak Foundation paper to make four foundations. I will demonstrate making one block.

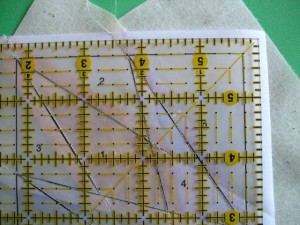
4. Using your rotary cutter and ruler, trim the foundations 1/2″ from the outside solid line.

 Fabrics

1. Using the cutting list provided on page 1, cut and label your fabric pieces. It is easiest to cut a strip the smaller measurement and then cut the lengths. For instance, the first item on the list is 8 pieces, each 2 1/2″ x 5″ and they are used for location number 6 and 7.

Cut a strip 2 1/2″ wide and then cut the 8 pieces each 5″ long from the strip.

2. Clip your #6 and #7 Binder Flag to this group of fabric.

3. Cut the remaining pieces in the list in the same way and place them on a Styrofoam meat/fruit tray.

 Sewing Machine

Set up your sewing machine with a neutral color thread, a 90/14 needle and 18 to 20 stitches to the inch. That is about a 1.5 on a sewing machine that has a range of 0-5.

 Step-By-Step Paper Piecing — Trim, Sew, Press

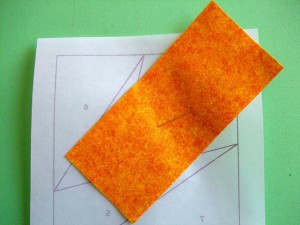
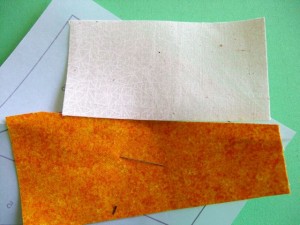
1. Select the #1 fabric piece and position it RIGHT SIDE UP on the BLANK side of the paper over the #1 area. Be sure that it covers the area completely with at least 1/4″ all around the #1 area.


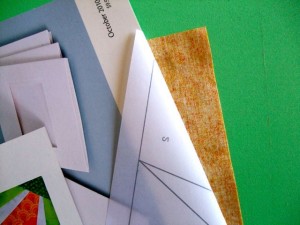
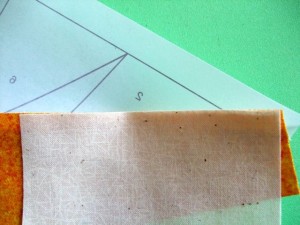
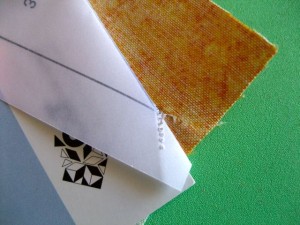
2. Place the postcard on the line between #1 and #2. Fold the paper over the edge of the postcard exposing the excess fabric beyond the #1 seam line.


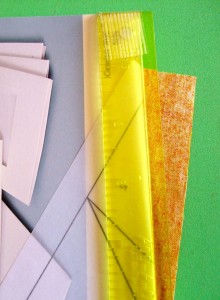
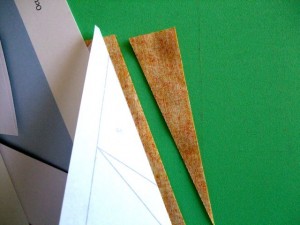
3. Place the Add-A-Quarter ruler along the edge of the fold and trim away the excess fabric.


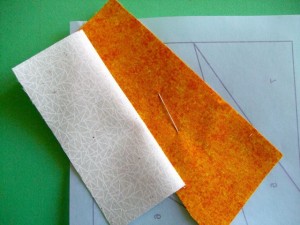
4. Place the #2 fabric right side up over the area it needs to fill to ball park placement, then right side together with the previous piece along the just trimmed line.


5. Confirm that the ends of the #2 piece will cover the #2 area.

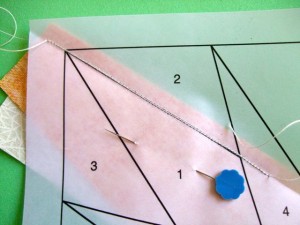
6. Pin in place.

7. Place with the lined side up under the presser foot and sew on the line, extending the stitches 1/2″ on each end. Remove and press the #2 piece open.


8. Now, using the #3 line, follow the same sequence of trimming, sewing  and pressing as described in steps 2 through 7. Remember when you extended the stitching on each end of the line? Well, when you place the postcard along the #3 line, you will need to pull away the stitching from the paper at the pointed end to fold over the card. That is fine. However, the fabric pieces will still be stitched in the seam allowance area and that cuts down on bulk in these areas.

9. Once the #7 piece has been sewn the block is trimmed 1/4″ from the outside sewing line.


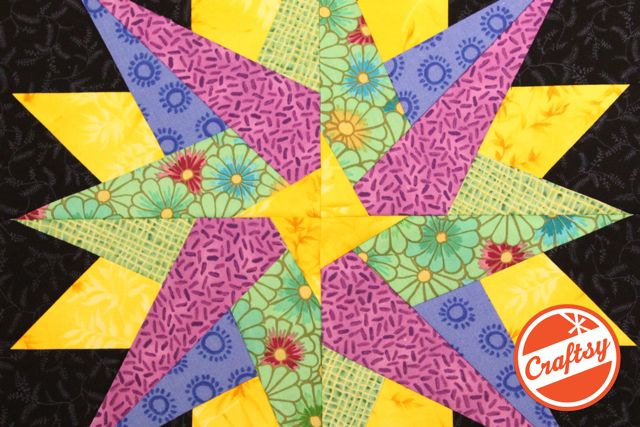
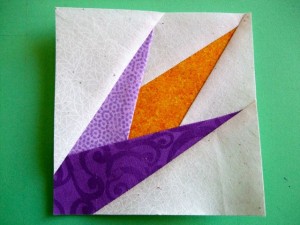
And here is your awesome block all finished with those perfect points. To make the 8″ block featuring a 4-block rotation, simply make three more blocks assembly-line fashion and join them.

For lots of tips and tricks about paper foundation piecing (measuring your fabric pieces, joining blocks, speed methods etc.), I would suggest any of my paper piecing books and/or DVD, Carol Doak Teaches You to Paper Piece.

I hope these instructions will encourage you to give paper piecing a go and if you are already paper piecing, I hope they add to your enjoyment of this fun method.

Carol

©Carol Doak 2012

Tis the Season of Love

Thursday, February 2nd, 2012
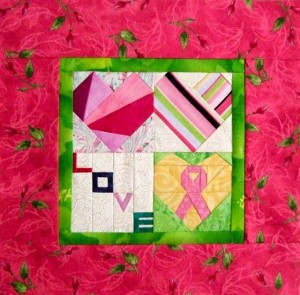
It is that time of the year when Valentine’s Day is just around the corner and many of our thoughts turn to the ones we love. They may be our partners, our husbands and wives, our children and grandchildren. The patchwork heart can come in many forms. The little wall quilt above is simply three hearts and the LOVE block from my newest book, 50 Little Paper-Pieced Blocks.


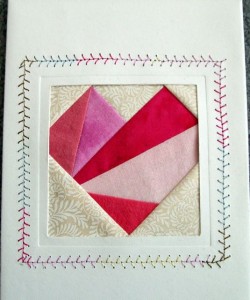
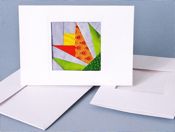
Valentine’s Day falls second only to Mother’s Day as the most important day for sending cards. An estimated 143 million cards are sent/given for Valentine’s Day. The card above was created using one of the Carol Doak Keepsake Cards and one of the quick and easy heart blocks from the 50 Little Paper-Pieced Blocks book. I used some multicolor thread and a decorative stitch on my sewing machine to embellish the card.


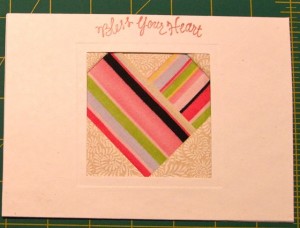
Stamps are another way to embellish and create messages on your cards. The “Bless Your Heart” stamp is perfect when using a patchwork card. I purchased it online at Rubber Stamp Tapesty.


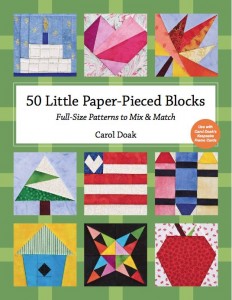
This is the cover of 50 Little Paper-Pieced Blocks and it is available in my web store or possibly at your local quilt shop. You could call ahead and see if they have it in stock.


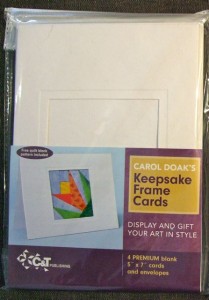
Here is the packaging for the Carol Doak’s Keepsake Frame Cards. These cards and envelopes are made of wonderful paper that has the feel of handmade paper. There are four cards and envelopes in the package. The package retails for $9.95 making each card less than $2.50. Unfortunately, C & T Publishing is out of stock of these cards and therefore, I am also out of stock. I am hoping I will have a supply by the end of the month. Call ahead and see if your local quilt shop still has a supply. UPDATE: Just heard that Checkers Quilt Distributors still has a supply of cards. Ask your shop to order them if they are out.  These cards are a super deal as far as the cost of greeting cards these days. I did a bit of research about greeting cards and found the following not so surprising statement about cards. Giving a greeting card creates a lasting impression and emotional bond between sender and receiver. In a national survey for the Greeting Card Association, nearly one-third of respondents said they keep the special cards they receive “forever.”

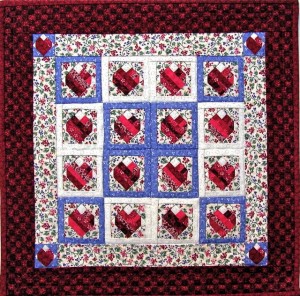
Another way to express love is through a little mini quilt. This Scrap Hearts Miniature quilt was first showcased in my out of print Easy Paper-Pieced Miniature Quilts book. Miniature quilts are so easy to make using paper foundation piecing methods. This one features little heart blocks featuring the look of scrap red fabrics. You would use the same methods as traditional paper piecing, but substitute the Add-An-Eighth ruler for the Add-A-Quarter ruler. Use cotton batting when machine quilting to give the quilt a flat look. When your loved one receives this quilt, they are going to think you are amazing. Don’t tell them that minis are actually so easy because the fabric pieces are huge in relation to the area they are going fill.

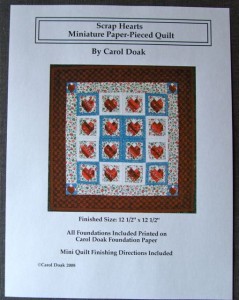
Since the minis in this out-of-print book were so popular, I decided to reproduce them in pattern format including all the patterns to make each quilt pre-printed on Carol Doak Foundation Paper.

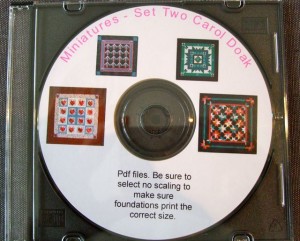
Then one day I had one of those light bulb moments when I realized I could place the images for the pattern on a CD so they could be printed right from your computer. Each CD contains four mini patterns. The Miniatures Set Two above contains the Scrap Hearts, the Scrap Stars (another very popular pattern!), Tree of Life Medallion and Jeweled Fans.

The book, patterns, CDs and Add-An-Eighth ruler are all available  in my web store.

Until next time,

Carol


Let Me Show You How to Paper Piece

Saturday, January 23rd, 2010

The Quilt Show

My show is now appearing at The Quilt Show. If you have never seen me demonstrate how to paper foundation piece, next week is your lucky week.   The Quilt Show has made it possible for you to watch my show for FREE next week!

The Link to watch TQS Episode 602 for Carol Doak available from January 25th through January 31st: http://www.thequiltshow.com/season6/602/driveIn.php?coupon_number=112284836207

The Quilt Show does such a super job presenting programs that allow quilters all over the world to watch when they want to watch them.

If you find you are loving it, there is a second opportunity.

There is a “Redeem Gift Certificate” button at the top of the page when your go to watch your show.  To receive $10 off the price of a 1 year TQS Membership, you must use Coupon Number #112284836207 when redeeming this gift certificate.

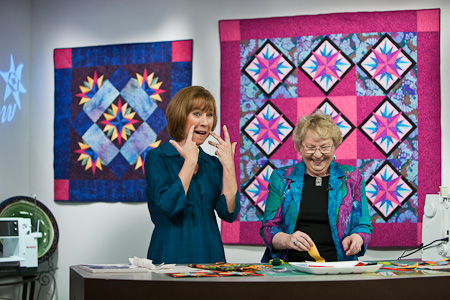
I actually traveled to LaVeta, Colorado last March to film this segment. I have known Ricky and Alex for many years so it was fun to share the day with them. I shared how I paper piece Mariner’s Compass Star blocks. I also shared some tips and tricks along the way. Alex and I also had a bit of fun.

Mariner's Compass Stars Bundle

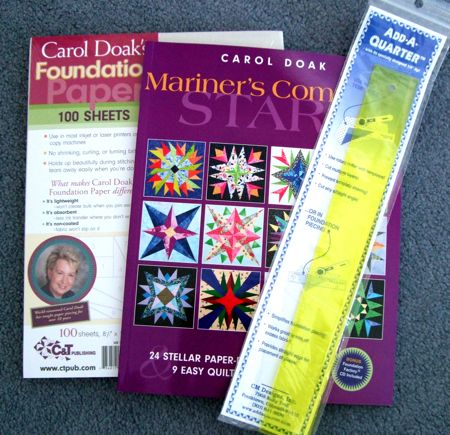
In honor of the airing of this segment, I have bundled the Mariner`s Compass Stars book, Carol Doak Foundation Paper and the 12″ Add-A-Quarter ruler in a reduced bundled package at my web store.

I didn’t want you to miss out on this opportunity.

After you watch the show, let me know what you think about the show and this format of learning quilting techniques online.

All the best,

Carol


Removing Carol Doak Foundation Paper

Sunday, July 20th, 2008