New Craftsy Class: Amazing PAPER-PIECED STARS
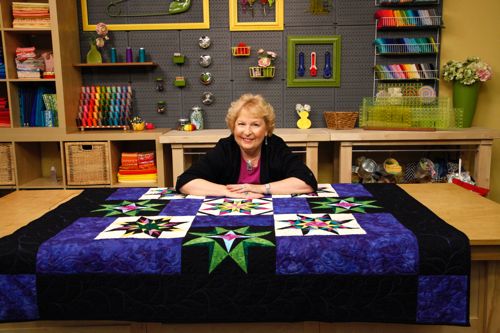 Some of you know that last year I was diagnosed with Breast Cancer. What most of you don’t know is that I was scheduled to fly to Denver two days after the diagnosis to film my second Craftsy class. It quickly became evident that neither my mind nor my body was ready to take on that task. My producer at Craftsy was simply amazing canceling everything allowing me to focus on my immediate medical needs. I already had my suitcase packed with all the supplies I would need to present the class. Rather than unpacking it, I simply placed the suitcase in my closet. Perhaps that was my mind telling me that this event was only going to be delayed.
I am pleased to tell you that last month, I did fly to Denver with that suitcase to film my new Paper-Pieced Stars Class.
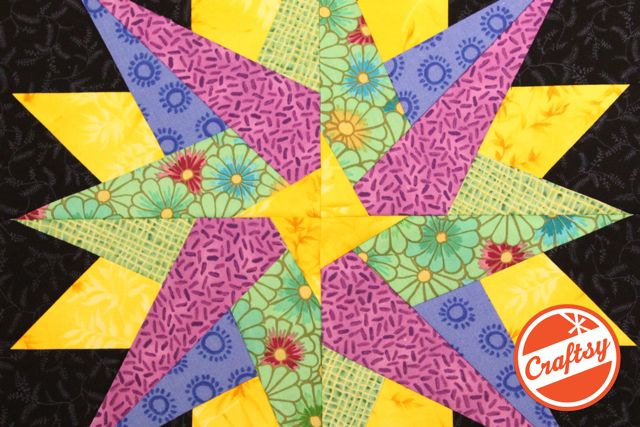
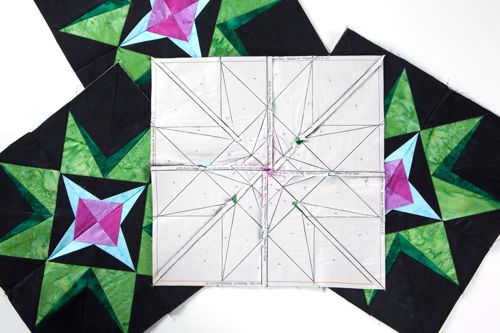
In this class, you’ll learn a variety of techniques as you paper piece six of my Eight-Pointed Star designs created just for this class, which you can combine into a fascinating medallion-style quilt (the patterns come with your class!). I’ll help you achieve perfect points with my best stitching and pressing tips.
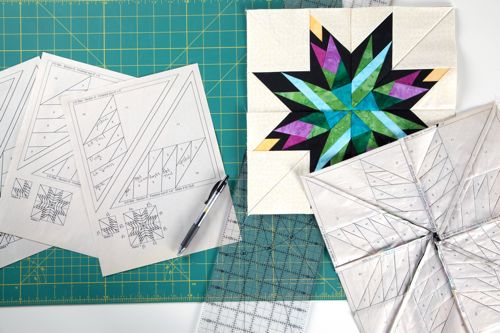
We’ll start by going over the tools you’ll need for success with paper foundation piecing. I’ll guide you through the cut lists in your class materials, so you can prepare all your fabric pieces with tips for staying organized and efficient!
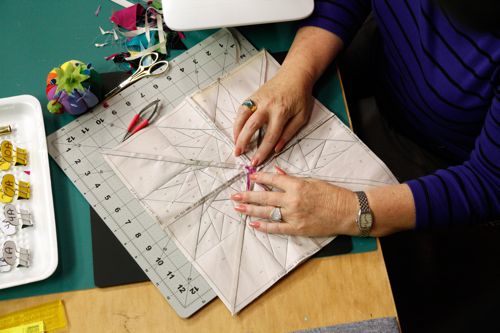 You’ll see how to simplify tricky seams and blocks.
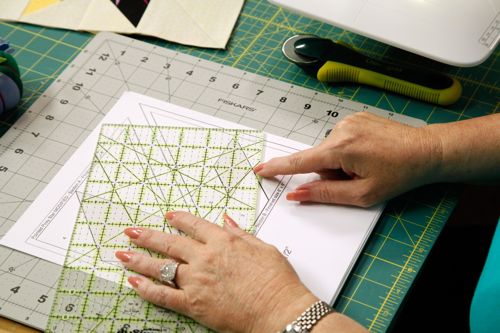 We’ll even cover how to calculate the yardage needed for every fabric group in a quilt.
Next, you’ll gather up all the fabric goodies you need to create the simple yet striking Twinkle Star block. I’ll help you set up your sewing machine, pick the right tools to work with and choose the best stitch length for wonderful results. Then, you’ll see how to accurately lay your fabric onto foundations, sew and press it perfectly.
In our following lesson, I’ll walk you through constructing the 3-D Star block with its eye-catching dimension. Along the way, I’ll share my tips for choosing fabrics and constructing your block with perfect points, reduced bulk and flawless seams.
You’ll learn some new tricks as we create the captivating Pointed Posy Star block. In this lesson, we’ll cover how to mix and match different foundations. Plus, we’ll talk about how you can simplify blocks by reducing the number of pieces and seams.
We’ll move on to constructing the exquisite Twisted Tulip Star block with step-by-step instructions. During this lesson, you’ll discover how to mix and match different foundation sections to create new, fascinating star blocks. You’ll even pick up a trick for fixing points that don’t match up perfectly.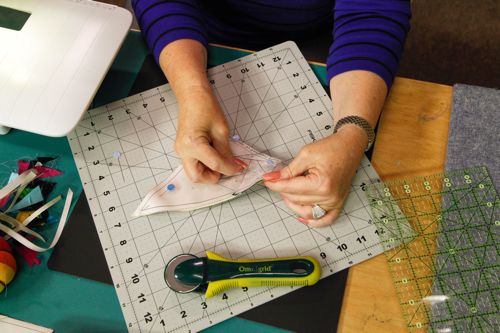
After that, you’ll see how to sew the Windmill Star block with its exceptional movement. In this lesson, I’ll share my practical guide to color, so you can be inspired to create a harmonious block you love!
We’ll continue with the radiant Starburst Star block. I’ll teach you about creating secondary patterns with eye-catching color effects that dance around your quilt! We’ll also discuss a simple method for calculating the yardage you’ll need for each fabric group in a quilt, so you can buy the amount of fabric you actually need. There’s even a cheat sheet in your class materials that makes this process that much easier.
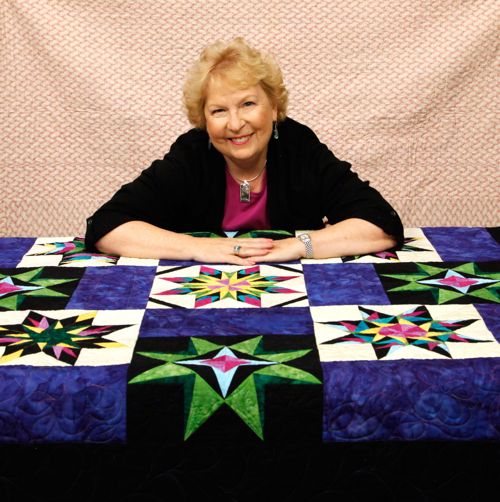
If I look happy and relaxed in this photo, I was. I thoroughly enjoyed finally filming this class when I felt healthy and happy. I hope to see you there. The class is scheduled to go live on the 23rd of this month at www.craftsy.com
All the best, Carol


